Objective
To add an iconic model into my display.
The Box
Pretty straightforward and a typical garage kit.
There are warp pieces which need to be heated back to shape and some pieces are too small to fit. So do expect to have a lot of fittings, putty and sanding if you decide to work on this.
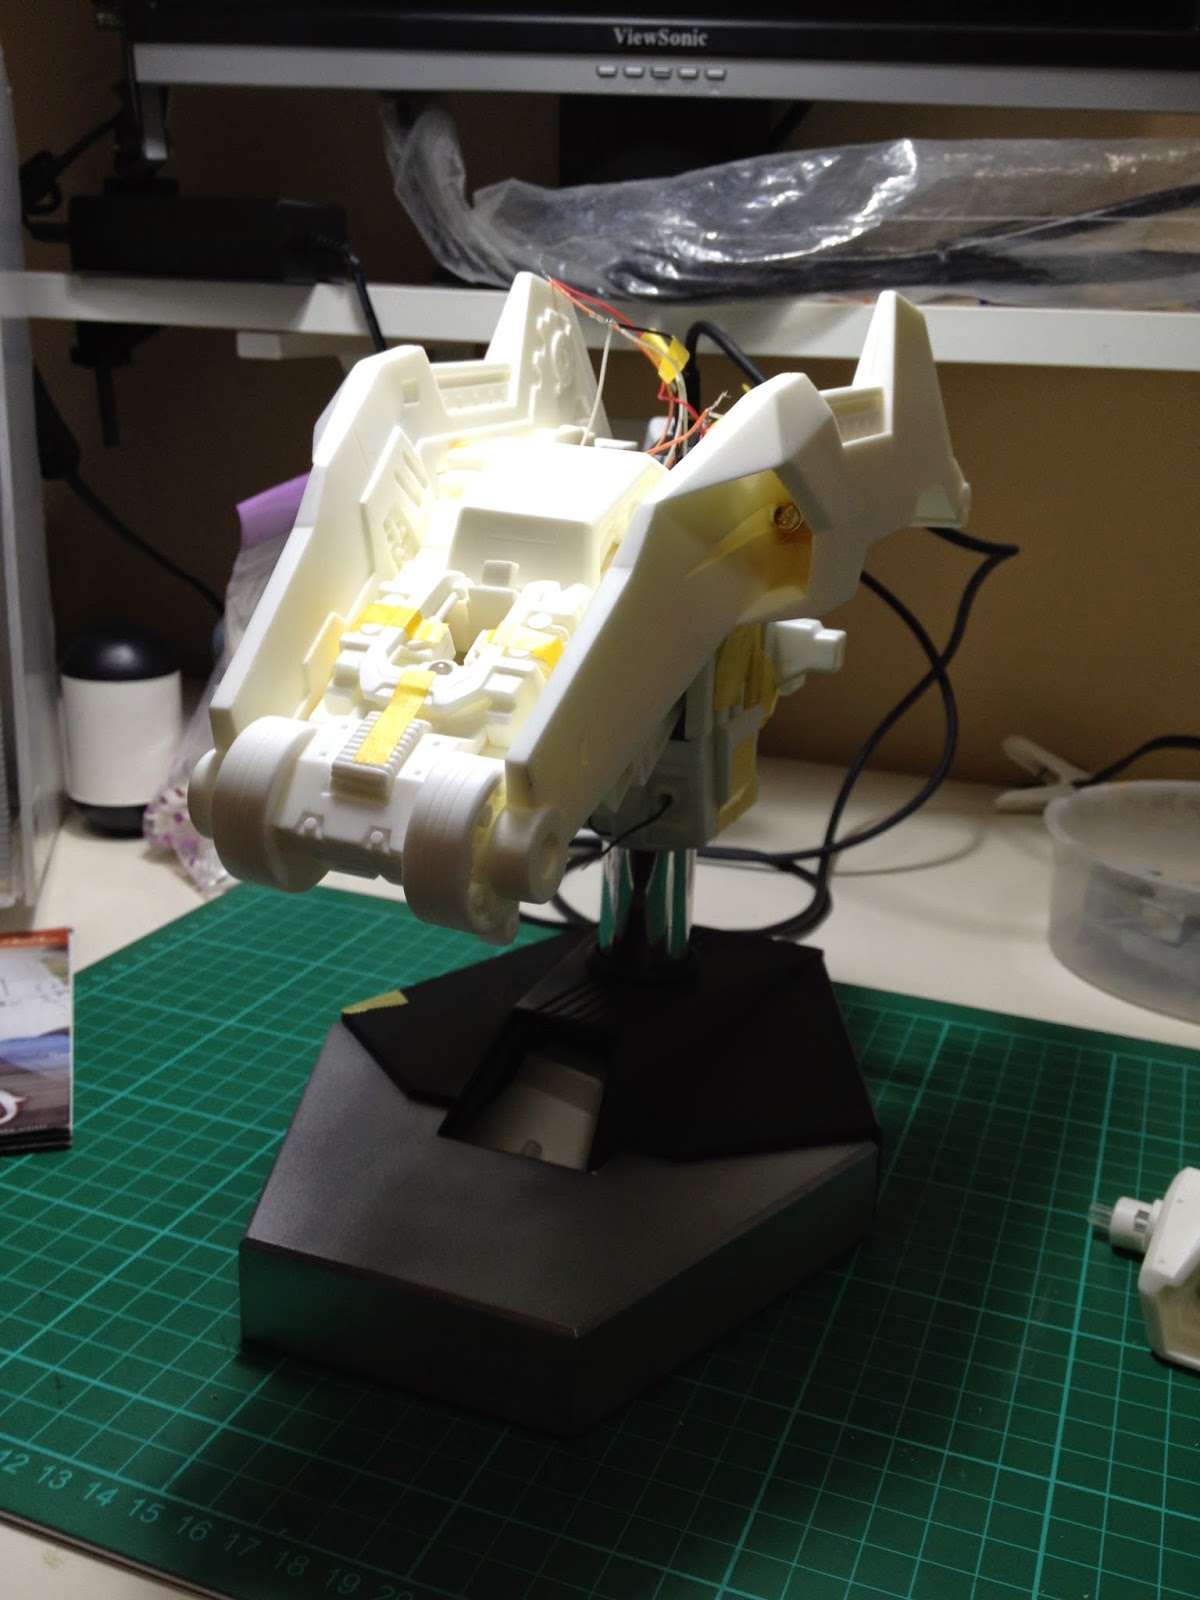
Notice that I have completed the base first. This is a lesson learnt from my last Bust model build. With the base done up, I can visualise how the entire presentation will be like and it also acts as a base for my fitting.
The holes are either too small or too big to fit the brass wire. Improvised by having an aluminium hollow rod. See pictures below.
The electronics.... I still suck in soldering....
Note: The instruction either has a mistake or I am just lousy with wirings. For the lights at B, it does not seem to light up as instructed by the manual to connect the positive to the white wire. After some trial and error, I finally got all LEDs lighted up. The solution is to have a wire from A to B. Weird...
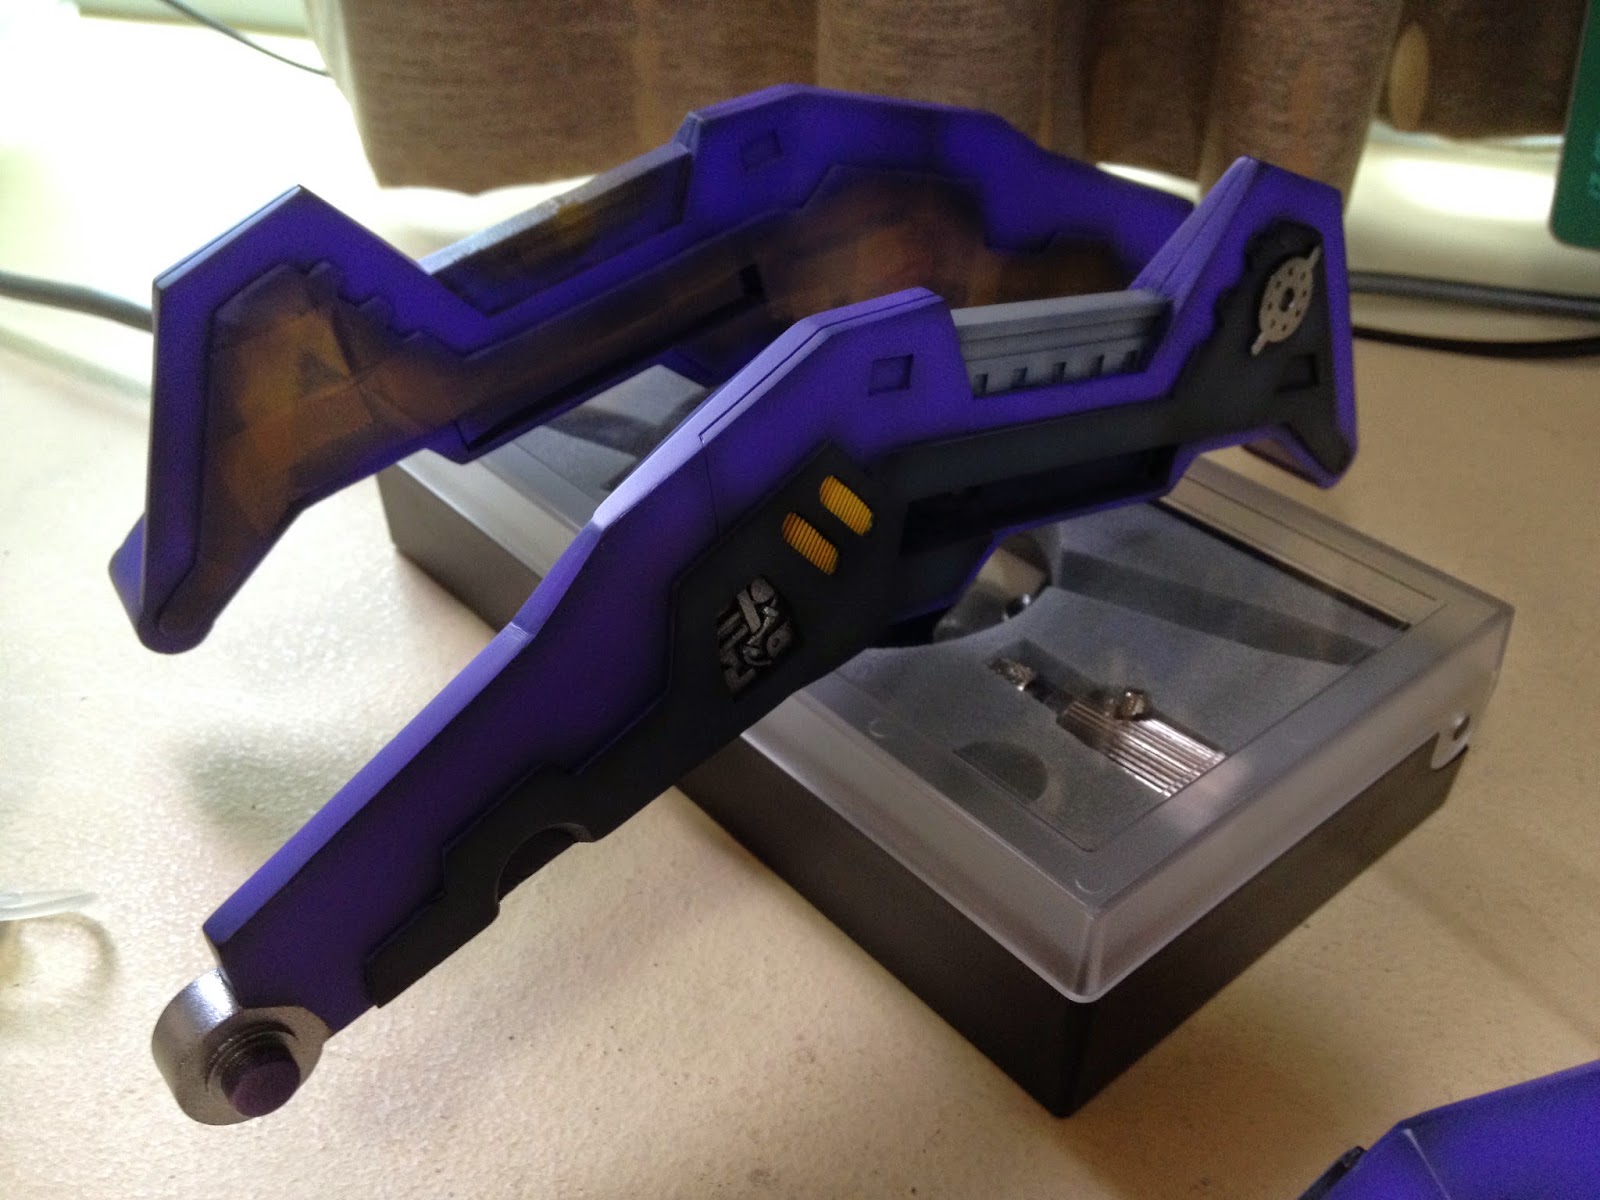
Instead of following the box art and the pictures that came with it, I have decided to follow the latest colour scheme from Bandai's MG Hi-Nu Ver. Ka.
Surfacer = Mr. Hobby Resin Surfacer
Base = Black (except for those red parts. I used white instead)
Neutral Grey 3 and 2 for those Grey parts.
Midnight Blue for shading then 90% Midnight Blue + 10% Bright Orange for highlight
Violet Purple for shading then 85% Violet Purple + 15% white.
Bright Red for shading then 90% Bright Red + 10% White for highlight
Florescent Green for the glass effects on the eyes and such.
Bright Orange Yellow for the vents.
Metallic colours for the rest.
Do expect a lot of masking.
Plan the painting in sequence to avoid rework. So this is what I did.
1) Paint all the light colours like Red, Orange Yellow and such. Then mask it.
2) Paint the Metallic colours like Bright Gold and Chrome. Then mask it.
3) Paint Black all over for the base coat. Then start the rest of the shading.
May not be the best way. But it works for me.
Here's are the painted parts.
All tucked nicely into the dry booth!
Then the decal process, panel lining and clear coat! A simple statement to cover the entire scope on what I did for the past 1 month!
Note: Be careful with large waterslide decals! To me, its tough. If it breaks, its will be obvious and ruin all the effort so far! Luckily I managed to overcome it and it turned out great! Have a look!
1) No rocket science. Just make sure the decal is wet (not soaking wet) until you get it to the right position.
2) Use the cotton bud to absorb the Decal setter liquid from the centre to secure the position.
3) From the center point in step 2, work your way outwards to push all the bubbles out slowly.
4) Use a dry cutton bud to tap the decal to conform with the surface texture.
That's it!
Assembly
If there is only 1 word to describe this step. I will have to say... HORRIBLE!!!
Not because the model is bad, but its due to my lack of knowledge in wirings and soldering!
To ensure all the LEDs, sensor and the moving mechanism are working, every assembly, I will connect and test. And this paid off! 1 of the LED for the eye is not working! Thank goodness!
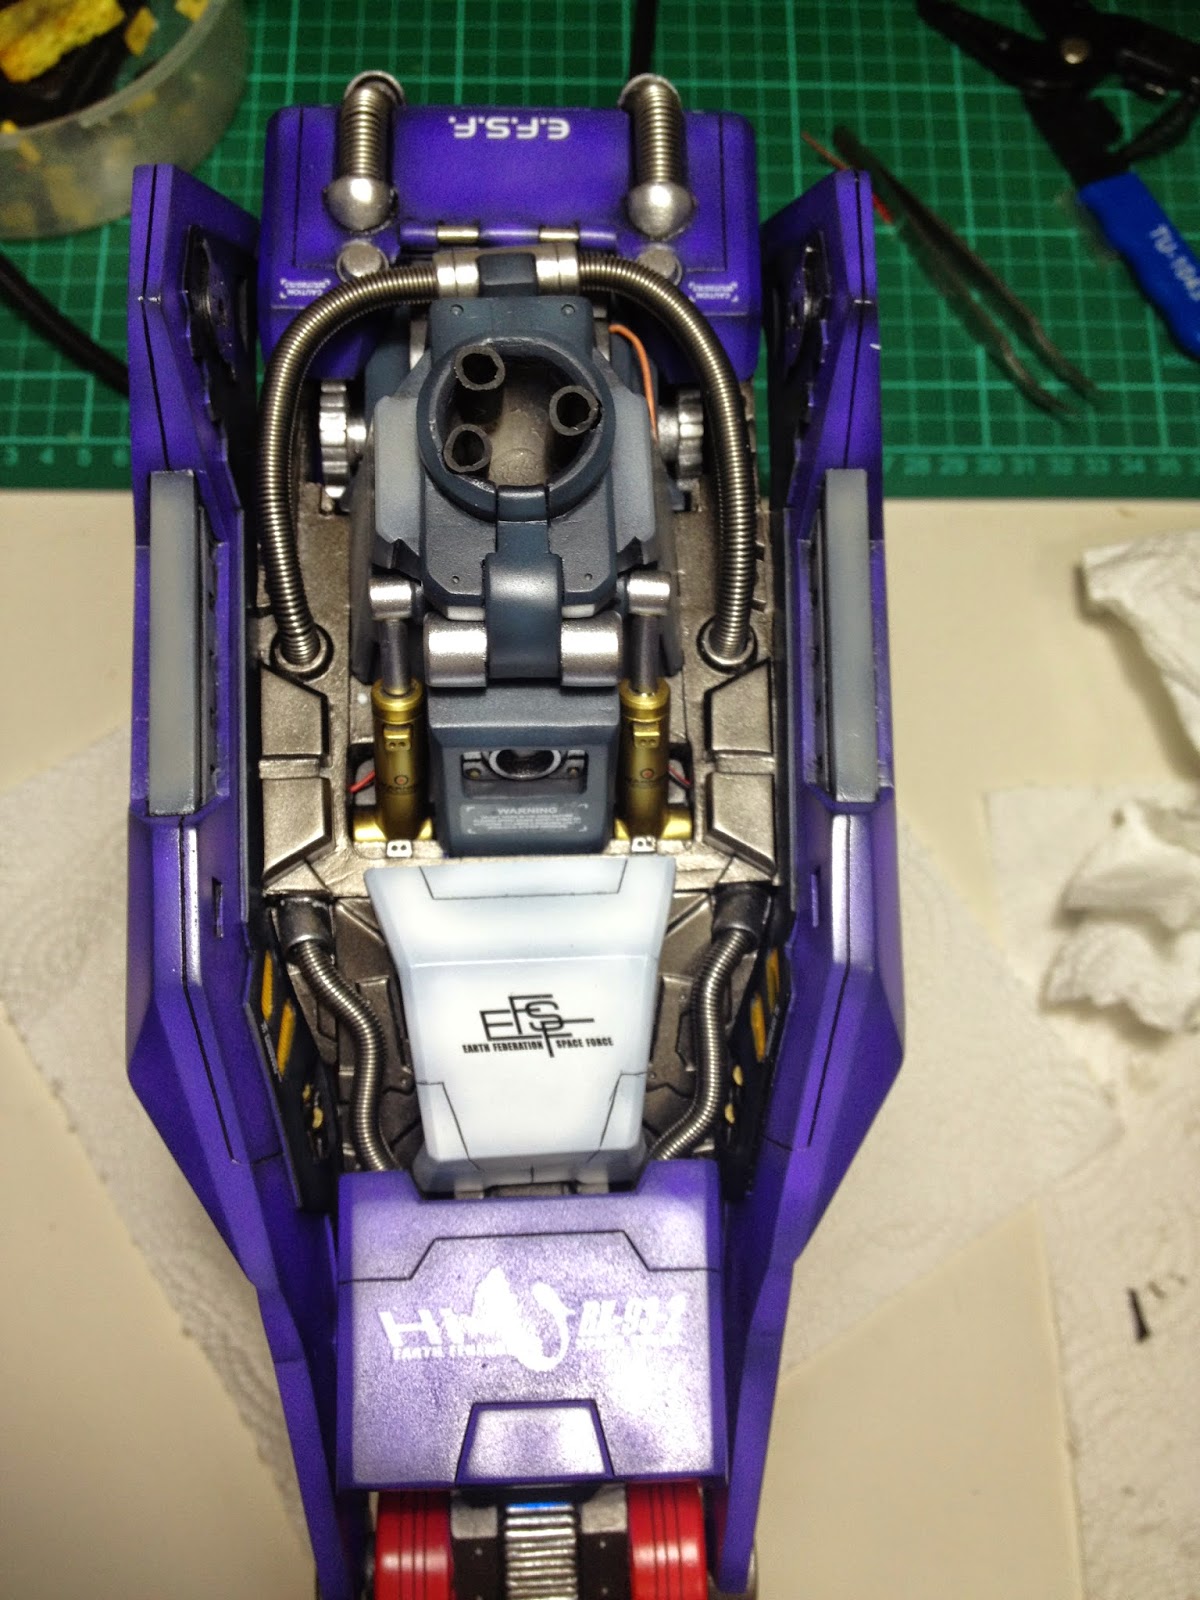
Here are the assembly pictures. (And seriously.. looking at the pictures still give me the nightmare):
Head first! Its a personal habit. Start with the toughest!
Only to find out that part of the wired has broke. So I have to cut it off and rejoin it... Phew...
A strategy to solder the wires on painted parts is to use a paint bottle cap. Just make sure the bottlecap is a clean one else you got more work to do...
Now for the rest...
The springs are no joke... Be extra careful. It rebounded back and gave me a deep cut on my finger...
Conclusion
Finally!!!! To write this blog and to post its pictures here means I have survive the ordeal!
The end result is satisfying.
Note: Somehow, the pictures does not show the purple well.


