Bandai HG 1/144 RX-78GP03 Gundam

Appeared in: Mobile Suit Gundam 0083: Stardust Memory

Estimated duration: 3 weeks

Bandai 1/60 PG MS-06 Zaku 2

Appeared in: One Year War

Estimated duration: 4 weeks

Bandai MG 1/100 Exia

Appeared in: Gundam OO

Estimated duration: 1 weeks

Super G 1/100 Resin Case NZ-666 Kshatriya

Appeared in: Gundam Unicorn

Estimated duration: 12 weeks

Bandai 1/100 MG MSN-04 Acguy

Appeared in: One Year War

Estimated duration: 2 weeks

Bandai 1/60 PG MSZ-006 Zeta Gundam

Appeared in: Z Gundam

Estimated duration: 24 weeks

Friday, 7 June 2013

Project #8: Perfect Grade MSZ-006 Zeta Gundam


Objective

To create a personal master piece.

Side story:
This is a very sentimental Gunpla kit I received from my wife when we were starting out as a married couple.
Time was extremely tough (9-11 terrorist attack... SARS virus outbreak... Asia economic crisis and subsequently I lost my job through unfair retrenchment)  for the both of us but somehow she still managed to take the effort and budget to buy this expensive gift to cheer me up! It is definitely worth every juice I have to build this.

Duration: est. 6 Month.

The Box


The Build Process

It will be quite a breeze for anyone who wants to snap fit this or even painted build on this kit. The parts and instructions are very straightforward and clear for any level of modelling skill. However, I do find the parts were not as well manufactured as compared to PG Zaku 2.

The panel lines were substantially absence on some big parts (e.g. legs) which will make the Gundam look rather dated. So I decided to create some panel lines.

The Painting Process

After the panel lining process, I was totally exhausted. And left the parts in this state for a couple of days maybe weeks...


Managed to regain some energy after a holiday break. And spent about 1.5 weeks to complete the kit to this state.


Double checked on the panel linings to see if it is symmetrical and and ensuring the shading tone is even for all the parts


Then went on to do more detail painting


Done!


Lesson learnt:
1) When shading white colour on a dark base, it must be thinned sufficiently. Roughly 1 part paint, 3 parts thinner. Pressure from the compressor must be kept low. Roughly less than 0.15MPa. Otherwise, it will have a snow like effect when airbrushed.

2) Never admire / inspect a painted part with exposed thinner lying around. The holding clip snapped and the part went flying into the exposed thinner! Luckily, there were still some paints left for the part. But time was wasted and its already 4 am ...

Completion

Sleepless nights and dehydration is finally over...


Will be posting more pictures in the Completed Project in next few days. Stay tune!


Friday, 19 April 2013

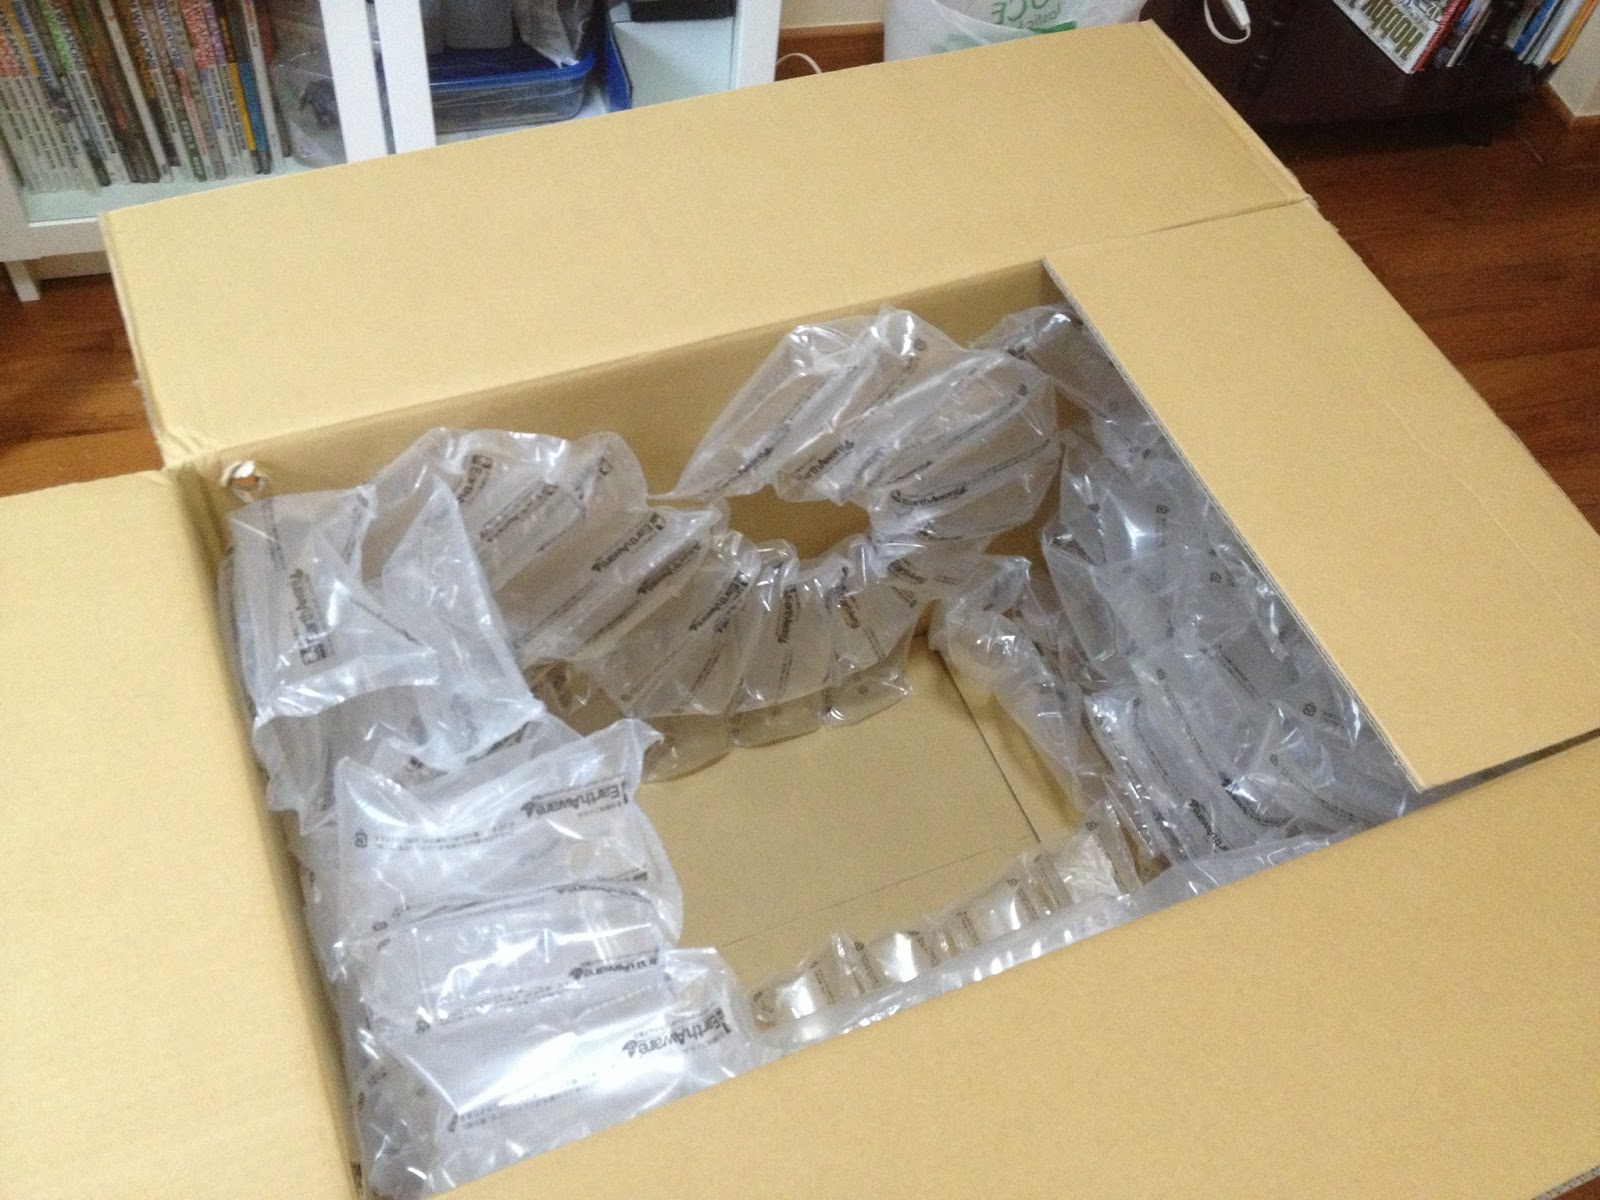
Finally arrived!

Another shopping spree:

Firstly, a dry booth! No more taking precious leave just to spray clear coat in the afternoon! 
No more dusty parts before final coat. Here's... Mr. Dry Booth!


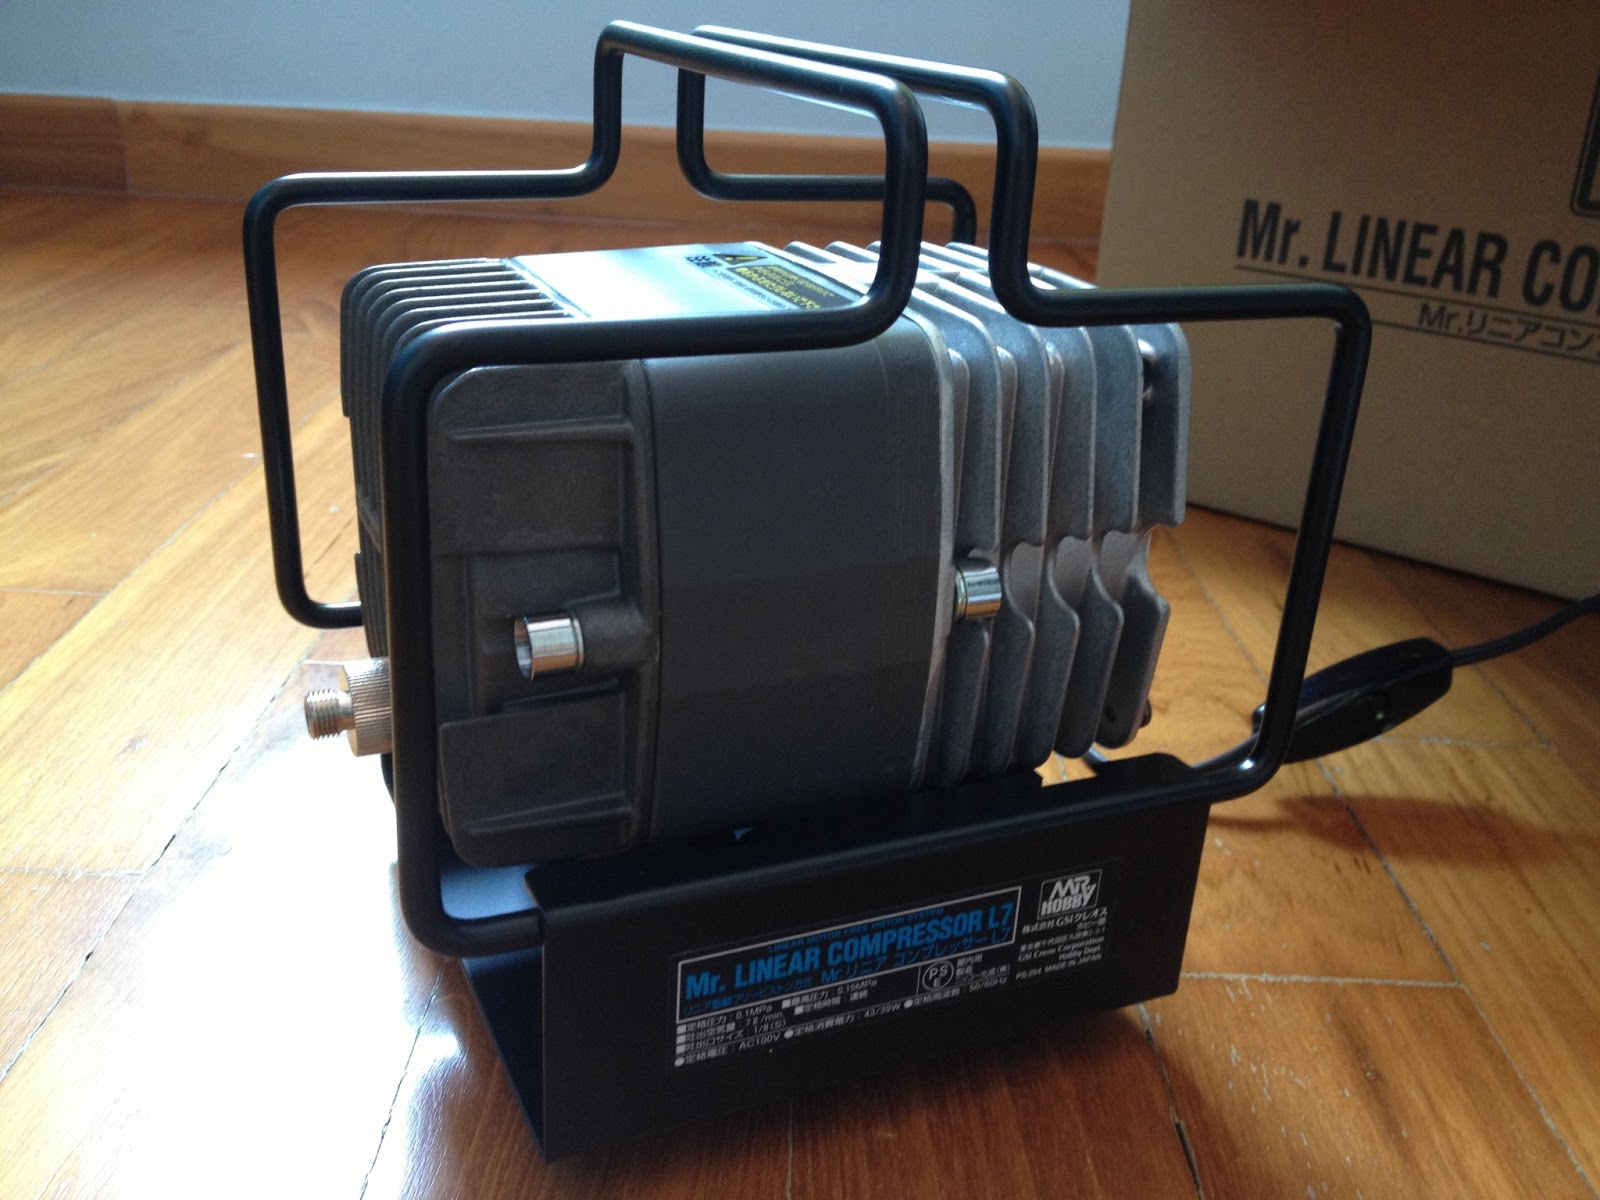
Secondly a very expensive purchase to fit in my small workspace. Mr Linear Compressor L7!!


I really like the way the Japanese package their products. And the build quality on most of their products are just outstanding. I will be using these 2 new items on my latest arrival...


Probably then, I will write a review on these 2 gadget! Stay tune.

Tuesday, 5 February 2013

Project #7: Perfect Grade MS-06F Zaku 2 - Part 1

Objective
My first commissioned project.
Simply Out-of-the box build.

Duration: 1 Month.

The Box

The Build Process

When comparing this build with MG Exia, this is relatively simpler to assemble.
Most parts fit well but I do find the energy piping really troublesome and tedious.
Luckily I got a Real Grade Zaku as an example to follow.
So, what I did was to put as many energy piping on a stick and start sanding it together!


Note:
Most parts are trimmed off according to its assembly sections in the manual. E.g. Left Arms, Right Leg, Torso and etc. All trimmed and sand parts are them kept in separate plastic containers with the exception of its pneumatic and misc parts.


Afternote:
Apparently the torso part that holds the head assembling in place is too tight to remove should I need to replace the battery. Thus I trimmed the attached part:


The Painting Process

Head, Arms, Legs and Energy Pipes:
Base coat: Surfacer (50%) + Black (50%)
1st layer: Light Green (60%) + Black (40%)
2nd layer: 1st layer + white


Upper and lower Torso:
 Base coat: Surfacer (50%) + Black (50%)
1st layer: Gun Metal
2nd layer: Green (70%) + Black (30%)
3rd layer: 2nd layer + white.


Gun and Axe:
Base coat: Surfacer (50%) + Black (50%)
1st layer: Gun Metal
2nd layer: Bright Silver


Back pack:
Base coat: Surfacer (50%) + Black (50%)
1st layer: Black
2nd layer: Black (60%) + Cobalt Blue (40%) [Loved this colour!]


Feet and Chest:
Base coat: Surfacer (50%) + Black (50%)
1st layer: Black
2nd layer: 1st layer + white


All internals are painted with Gun Metal with the exception on the pneumatic.


And.... the final results were better than I expected!


Note: The entire painting took me close to 3 full days of airbrushing. By the time I finished this, I was really exhausted... a bulk of my sleeping time was given to this model kit.

Update: Completed Perfect Grade MS-06F Zaku 2


See Completed Models for more pictures

Friday, 16 November 2012

Project #6: MG MSN-04 Acguy

Objectives:

Understanding the effect of using 3 shades of paint.

Duration: Hopefully by 2 week.

The Box:


The Build Process:

No rocket science to this model kit. Very simple to build as compared to Exia.
Spent at least 1hour a day to trim, sand and prep each parts for painting.
Body internals are assembled first to ease painting.

The Painting:

The painting is slightly more troublesome as I do not have the colours readily to start with. So I did some mixing to get the colour I wanted. Here's what I have used:

Surfacer + black (50%)
Medium Brown (70%) + Black (30%) = Brownish colour
Dirty Yellow (70%) + Black (30%) = Light Khaki colour
Gun Metal
Chrome Silver
Neutral Grey
German Grey.
Flat Clear.

Started off with the surfacer then followed by the brownish shading. Thereafter, I added at least 10-15% of pure white to the brownish colour and finish off the part with the lighter colour. Thus completing the part with 3 colour tones. The results were satisfying!

Here are some pics to show off the shading:


It's 4am by the time I finished painting... I managed to completed its clear coat  on the next following day.

The Final Product:

After a good rest, continued with the panel lining and decal-ling. The end results.


It looked very cute instead of being awesome. It became an instant favorite piece for my wife!

Note: Decided not to use the clear parts and its base that came with it. Anyone interested?

Check out more photos here.

Thursday, 2 August 2012

Project #5: Tamiya 1/35 German King Tiger Part 2

Objective:

To camouflage the tank

The Paints:
Dark Yellow
Dark Green
Brown
Black
Silver.

Painting:

Work from light colours to darker colors. After Surfacer, Dark Yellow was applied evenly on the entire model (should have done the gradation as I have for my Gundams...).

Then Dark Green was applied as the first part to camouflaging this Tiger. From the box, the Dark green patterns seems easy to follow but soon realised that the pattern doesn't quite "work" for the top part of the tank...So I decided to go with the flow and follow my preference in the end.

Brown + Black (1:1) for the brownish tone on the camouflage (As I am using Gaia paint this mix was close enough. If using Tamiya, red brown is the colour to use).

Black + Silver (1:0.5) for the tracks. Studied from the web, some don't bother to paint it and go straight for weathering. Not sure I did the right thing...

The dots are then applied using Tamiya Enamels.

Here are some of the pictures. King Tiger fresh from the factory:


It looks like I have overcome my first hurdle: Camouflaging.

Next:
Project #5: Tamiya 1/35 German King Tiger Part 3