Bandai HG 1/144 RX-78GP03 Gundam

Appeared in: Mobile Suit Gundam 0083: Stardust Memory

Estimated duration: 3 weeks

Bandai 1/60 PG MS-06 Zaku 2

Appeared in: One Year War

Estimated duration: 4 weeks

Bandai MG 1/100 Exia

Appeared in: Gundam OO

Estimated duration: 1 weeks

Super G 1/100 Resin Case NZ-666 Kshatriya

Appeared in: Gundam Unicorn

Estimated duration: 12 weeks

Bandai 1/100 MG MSN-04 Acguy

Appeared in: One Year War

Estimated duration: 2 weeks

Bandai 1/60 PG MSZ-006 Zeta Gundam

Appeared in: Z Gundam

Estimated duration: 24 weeks

Friday, 12 September 2014

MIA for sometime... but...

Been freaking busying with work and spent very little time on this blog.
But that does not mean it has been forgotten.

This hobby is not neglected (completed 2 models) and neither did my purchase stopped.
See what I have accumulated over the past 1 year:

1) G-System Model RX-93-2 Hi-V (Been wanting this for years...)


2) MG Sazabi Ver. KA (Dream came true! Just look at the box is enough to drool...)


3) Kotobukiya 1/72 HMM Gojulas (Childhood dream! This is on my top priority to build!)


4) Kotobukiya 1/72 Darkhorn and Iron Kong (ah... memories of being a little boy... of not having these...)


5) Kotobukiya 1/72 Saber Tiger & Liger Tiger Panzer


6) G-System RX-105 Xi Gundam + RG Zeta + All cast from the original Gundam series (all these were bought during our amazing family trip to Hong Kong). G-System is now officially my most expensive purchase which surpassed my B-Club Devil gundam. Will do a quick review of this model when I get started working on it.


7) Echotech / Honda Z0-41 Ultrasonic Cutter (very confusing for its brand. But still its a must have tool for resin building.). Another expensive buy, but after using it, its really worth every dollar spent! Will do a review on this soon.


8) GSI Creos Airbrush PS-270 0.2mm (time to get really serious with airbrushing). Another candidate for a proper review.


9) 3M mask (helps not only when airbrushing. Breathes better during the bloody "seasonal" haze too!)


And many more... Look out for my next update on which models I have completed within 1 year 

Saturday, 3 August 2013

Project #9: GSM 1/35 RX-0 Gundam Unicorn Part 3

Assembling

[Update]
This is a very memorable assembling process. Why?
I was working on this during the worst haze I have experience in my life!
Haze reaching levels of being hazardous to health...
My entire house was on air conditioning for the entire week!
Not only that... I had a bad fall and was recovering from 3 broken ribs.
Yet the drive to complete this is still high!

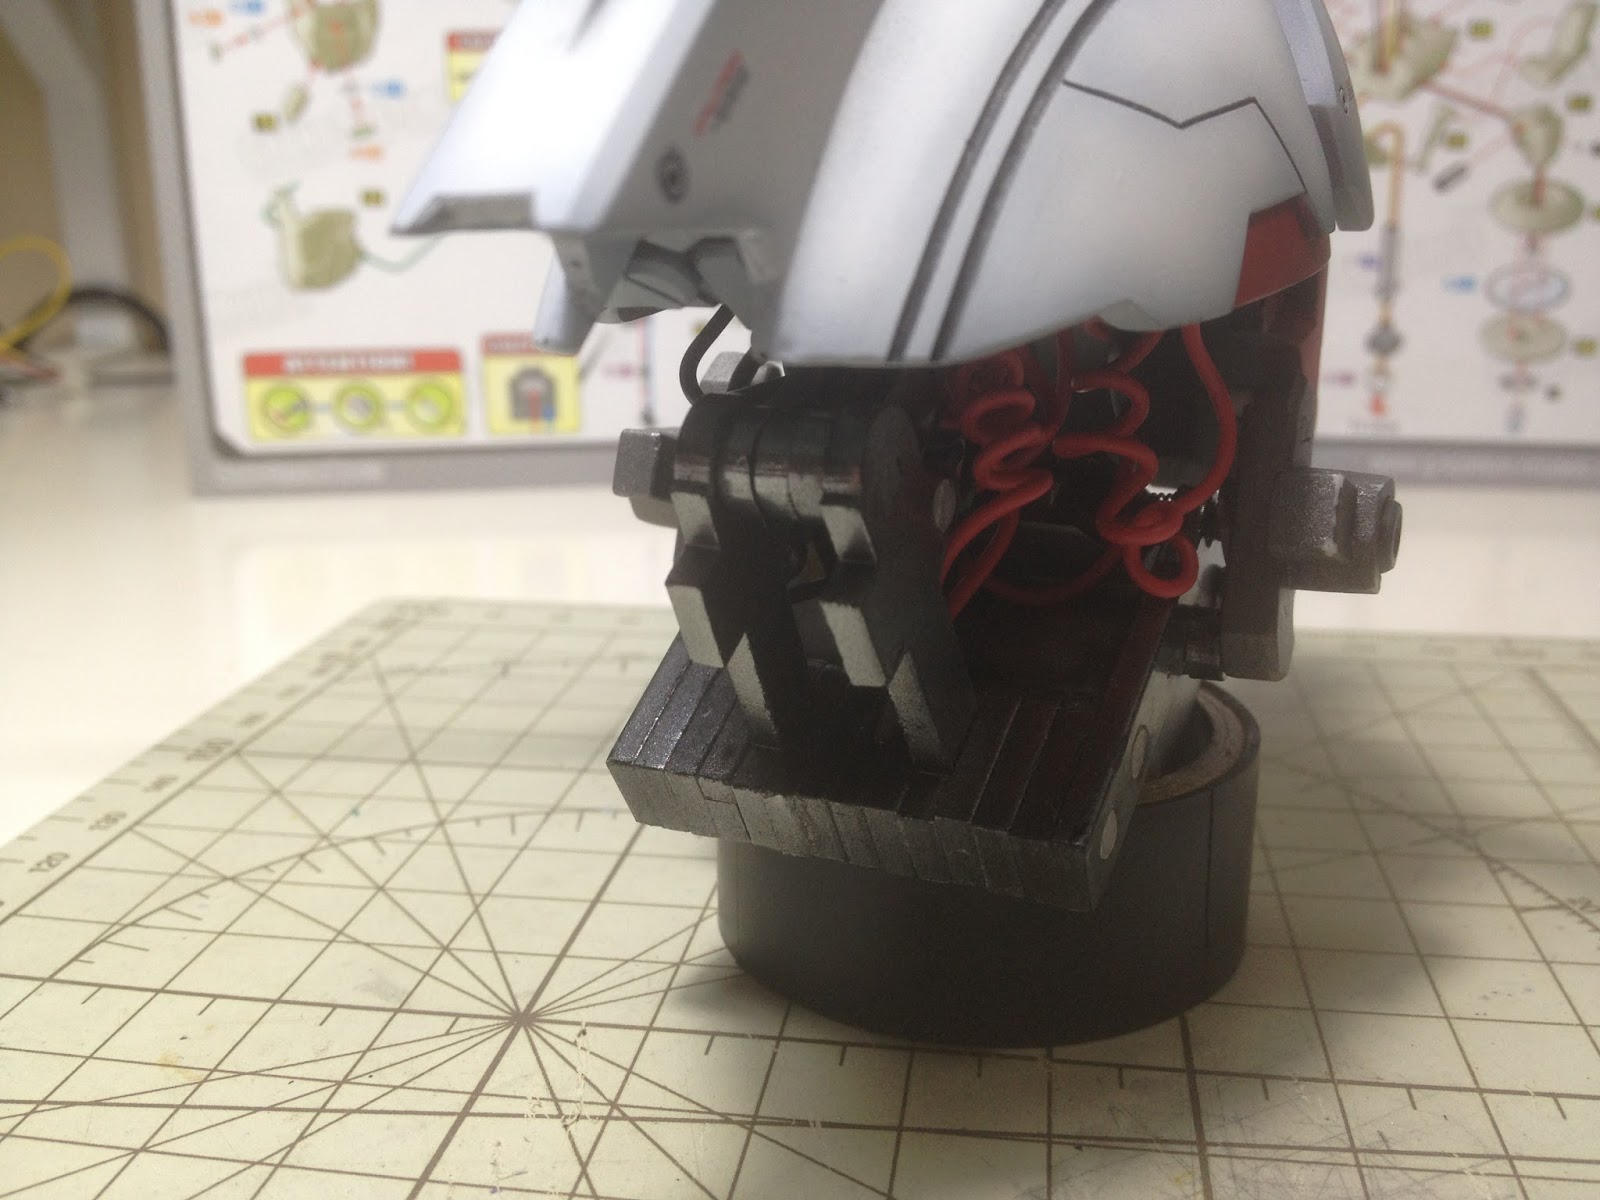
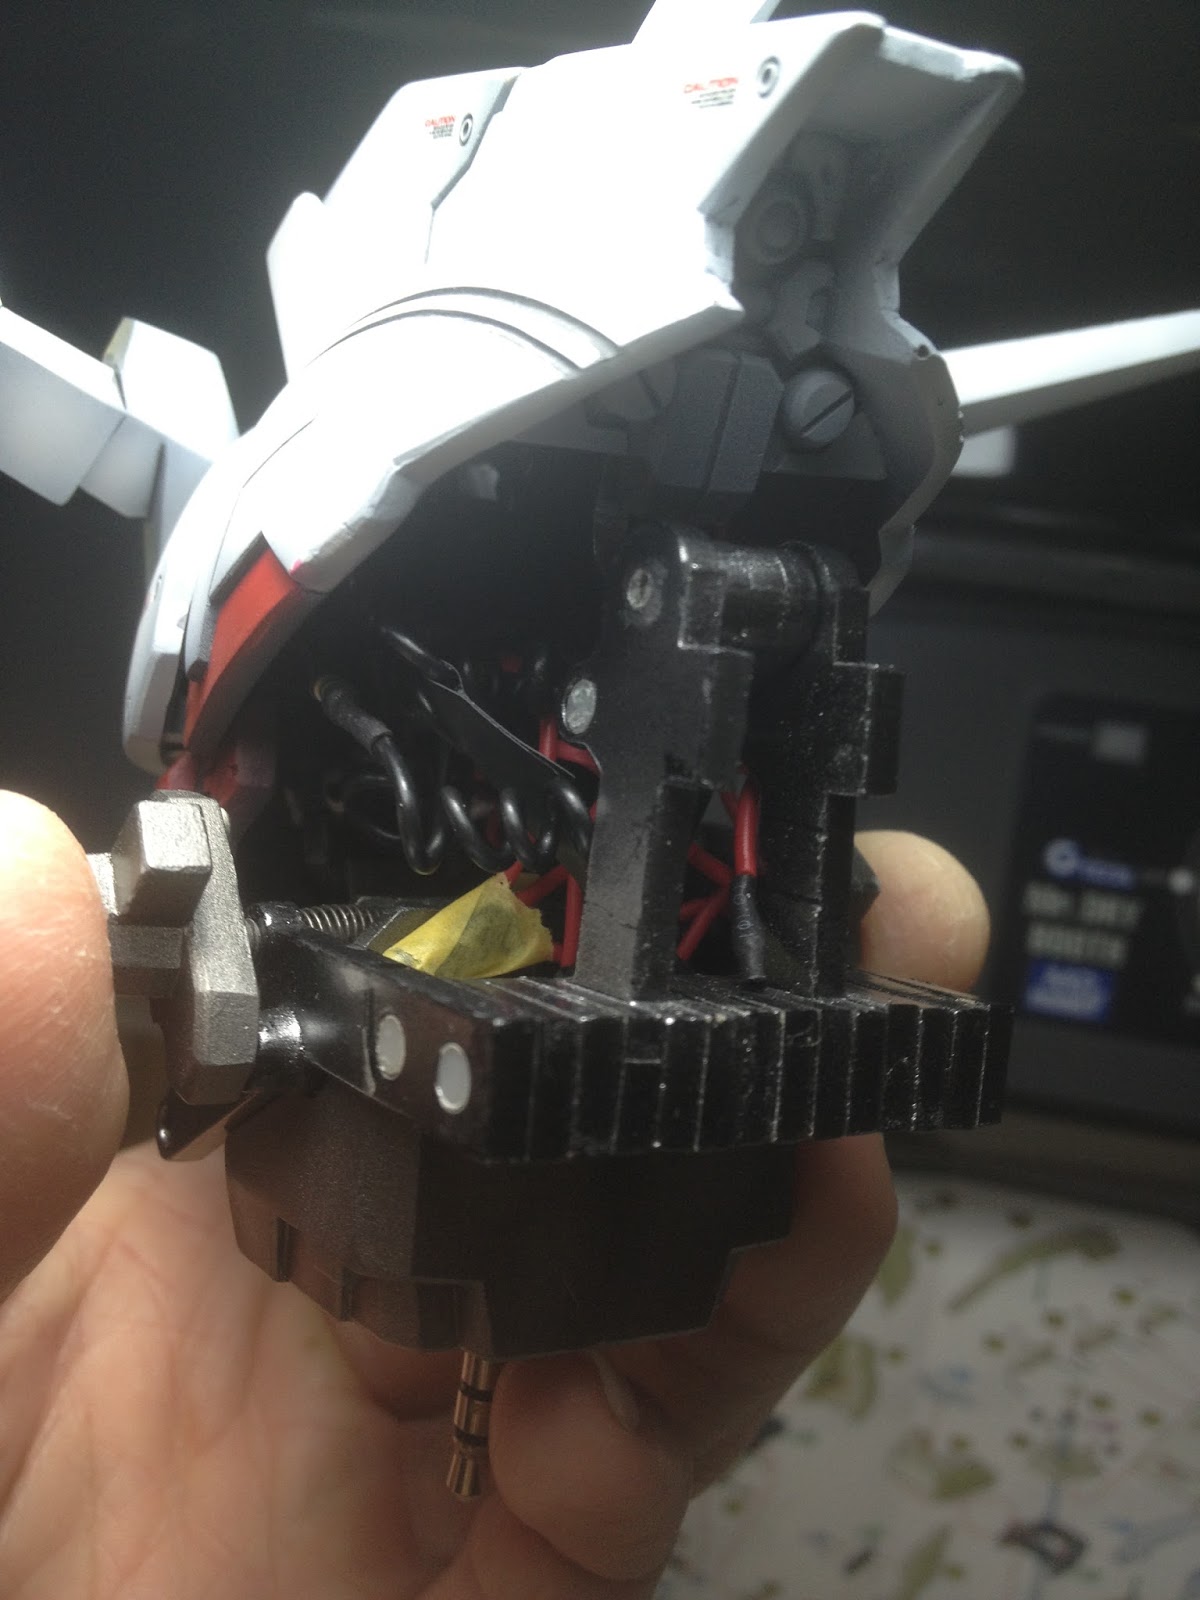
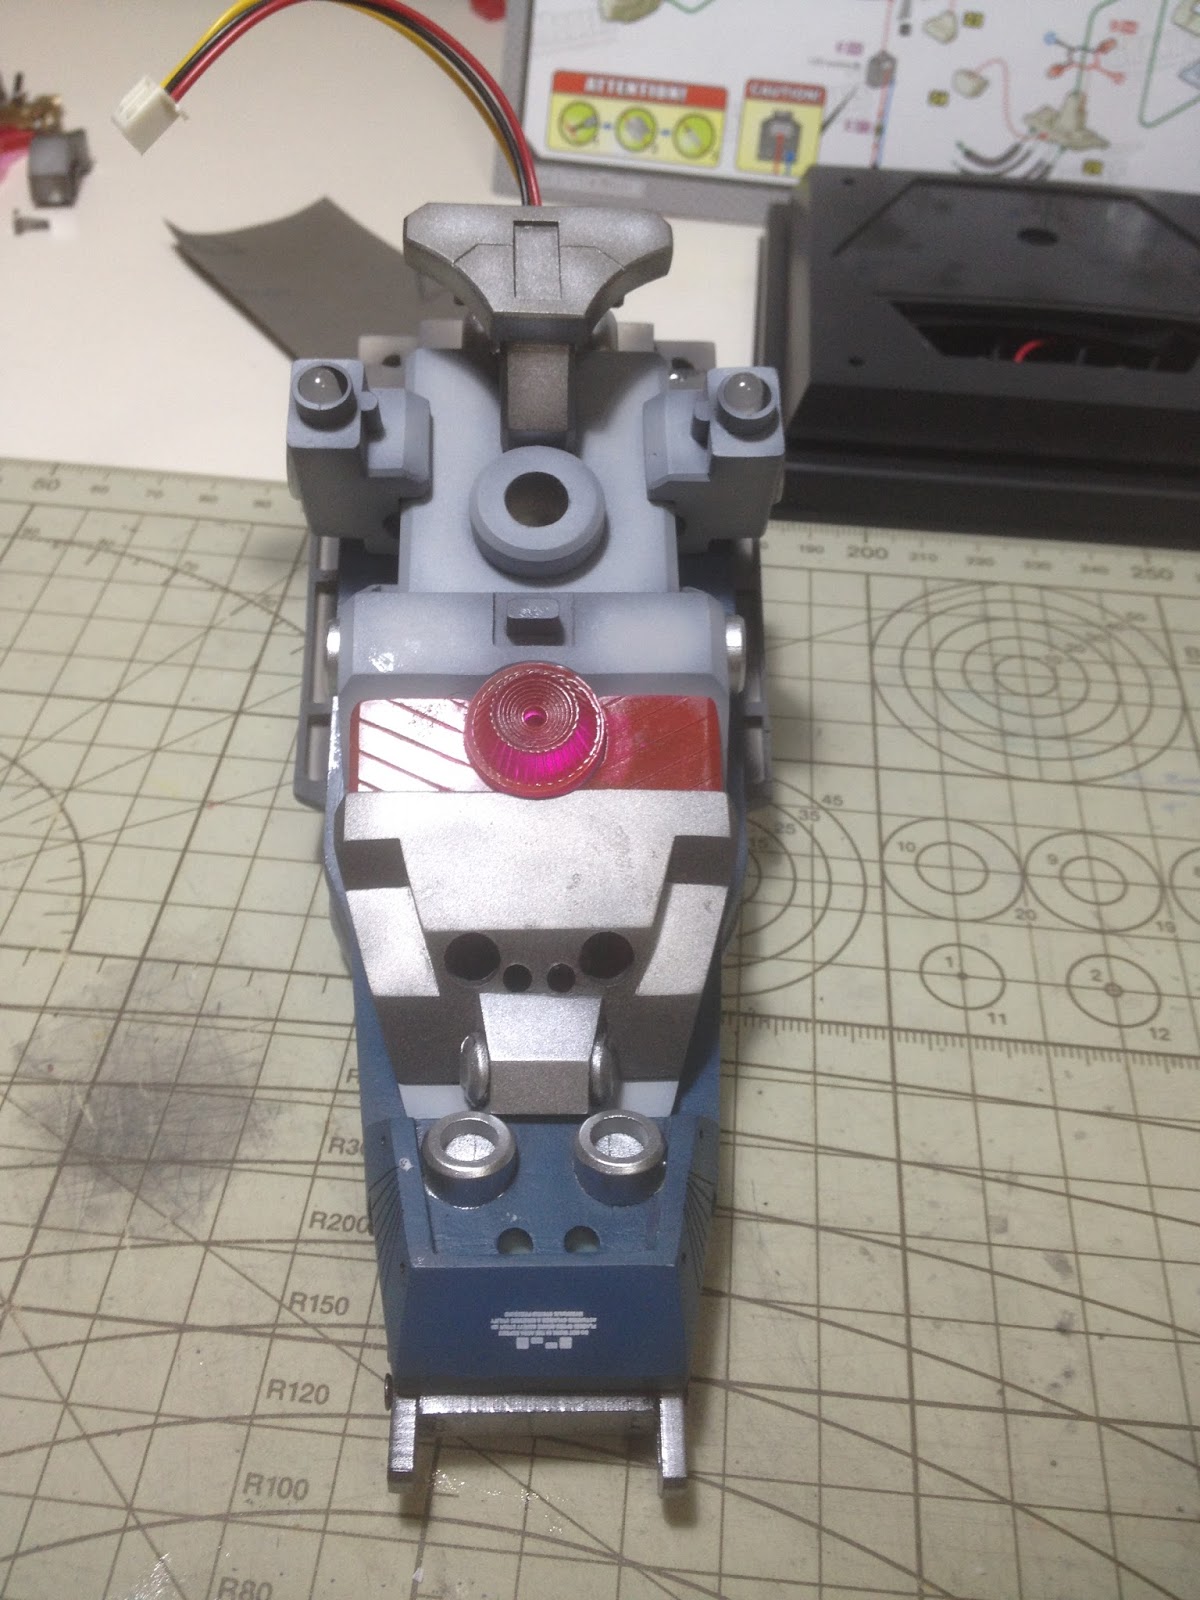
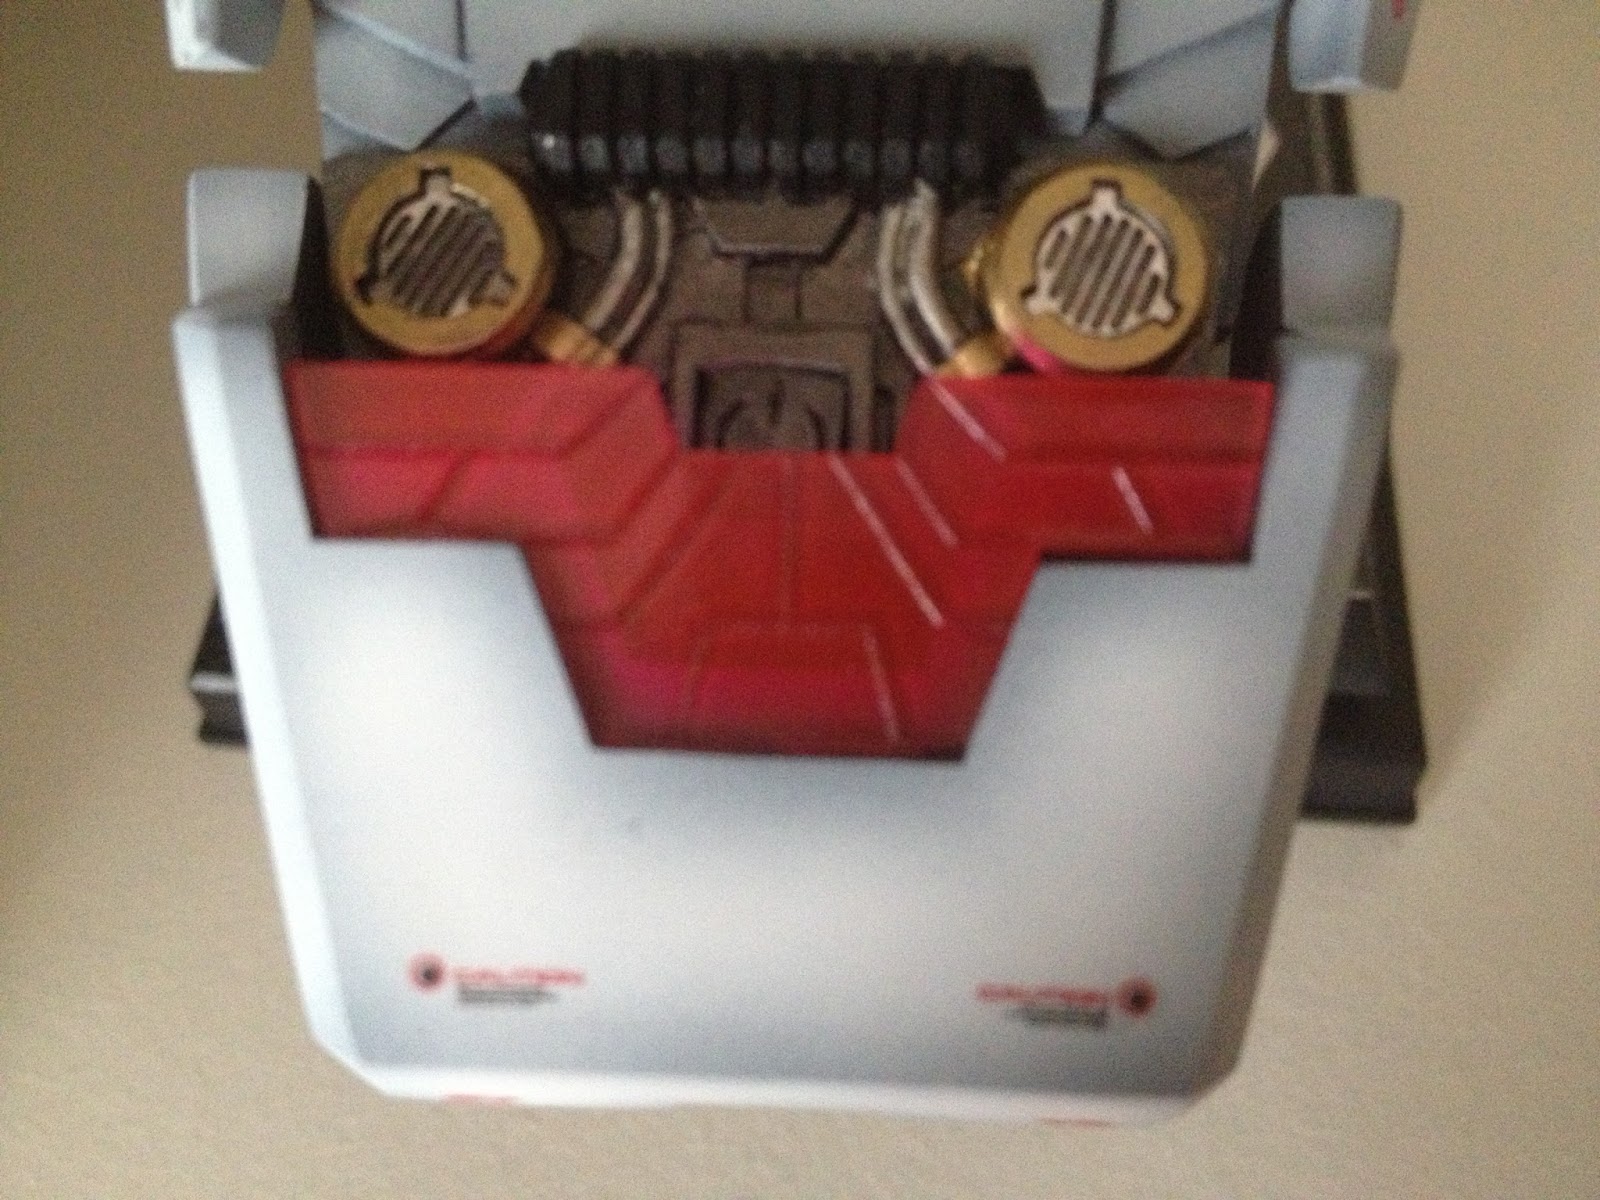
Day 1: Assembling the head with LEDs


Looking at the wires can tell the viewer that I am no expert in wiring...


This is really small to have all the wires in. Opps! I forgot to pain the details at the back!


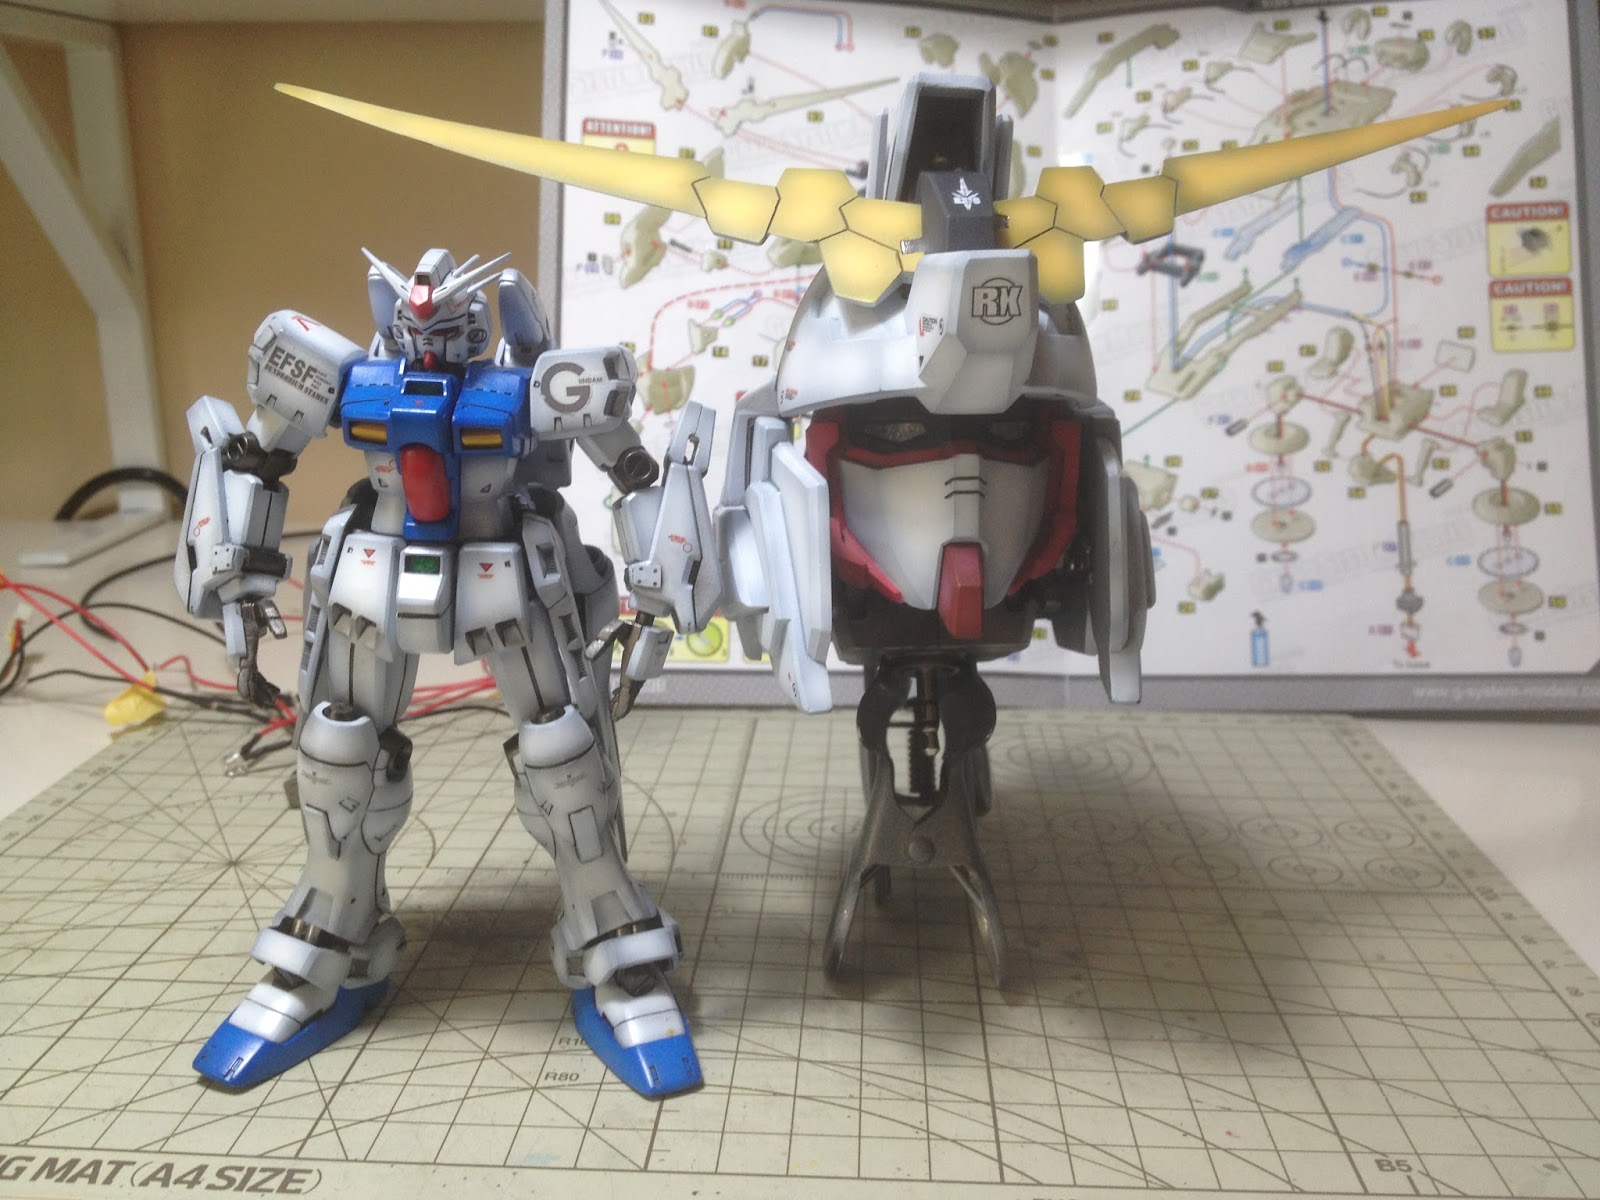
Comparing a 1/144 and a 1/35. 

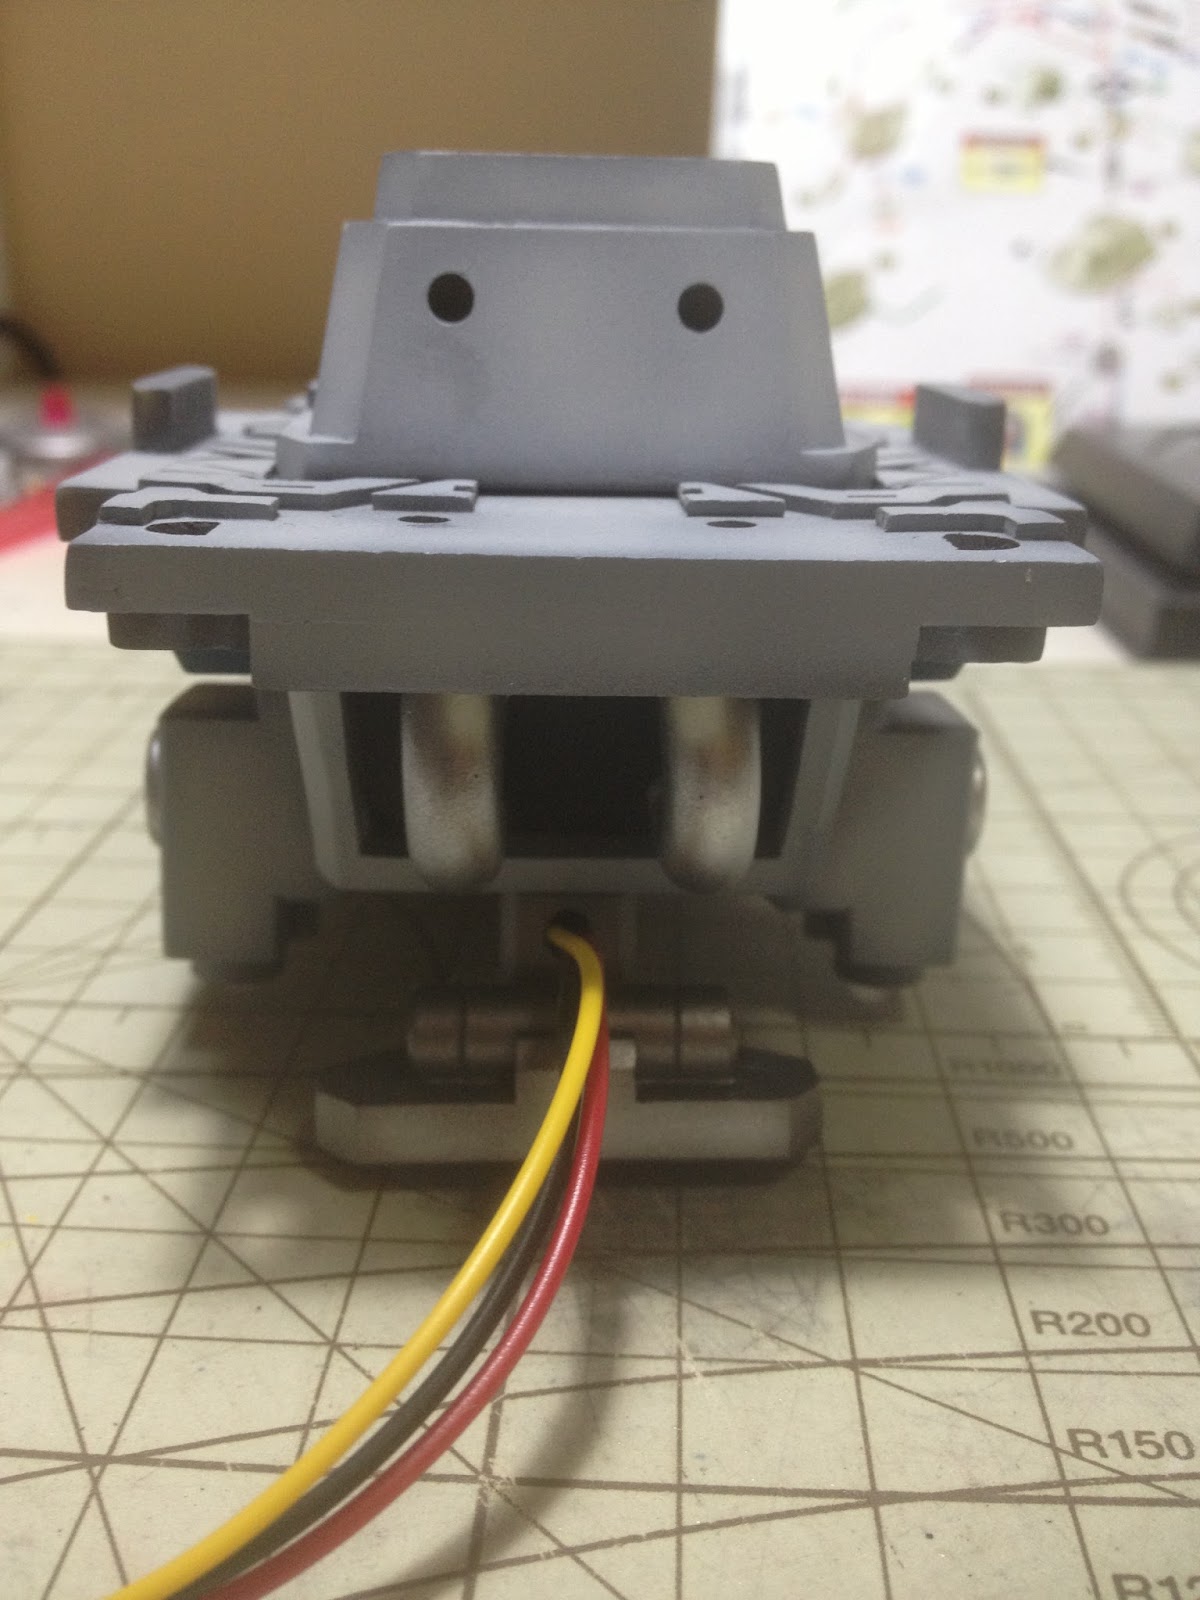
Day 2: Assembling the lower neck with LEDs

I know.. its ugly and not organised..

Cover it and the unsightly wiring is gone. But its not easy to put the top on. Some minor modification required.


The spring provided to wrap the wires had a diameter too small for 3 wires.


The cover is up. I'm done for the day!
Day 3: Attaching the lower neck to the base

Too tired. And the Haze has reached a hazardous level again. Better rest...
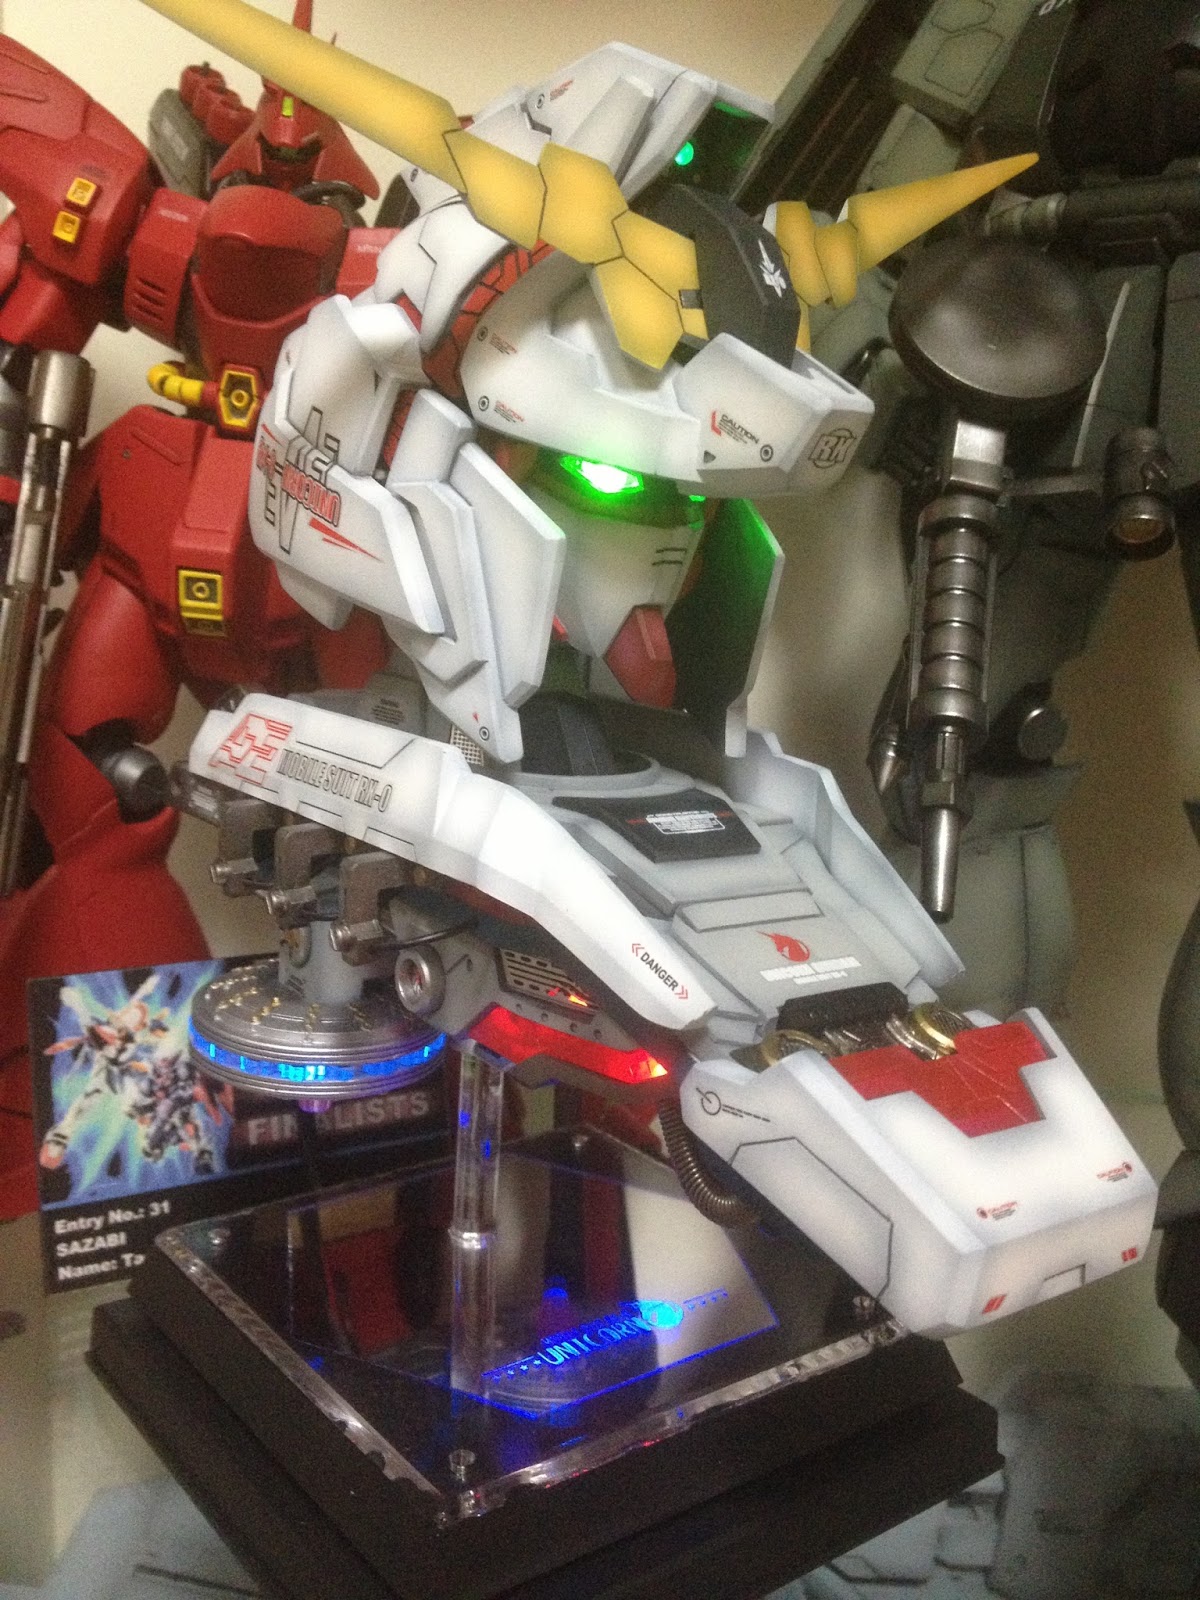
Day 4: Final assembly

Yes!!! Its almost done! The base still needs some work.
I will be posting more pictures and a video on its lighting effect. Stay tune.

Friday, 26 July 2013

New arrival to join my store room...

This just came in:


Armored Core Unsung, the newly released Messala and something I have been looking for


A turntable for my PG Zeta! Its a very well made turntable. Definitely worth the money.

Monday, 15 July 2013

Project #9: GSM 1/35 RX-0 Gundam Unicorn Part 2

Wiring

Day 1: Solder all LEDs 


Day 2: Solder wires to the head frame


The switch's connecting points are so tiny, it does take some effort soldering these wires...

Day 3: Solder base and switches

No pictures were taken as I really had a hard time with it. The solder just don't stay on the contact points. Solved after several attempts...

Next problem. 4 AA batteries cannot fit into the given slots. I had to cut the center piece of plastic off then all batteries could fit in snugly.


Not sure why the base is designed this way. My batteries were too fat? Or it is intended to use only the adaptor provided. Another obvious flaw is... Why is my base black when box illustration shows white? And there isn't any clear plastic cover for the top mirror as shown on the box illustration as well... 
Hmm... I think black suits this model better.

Terrible day, but its done!

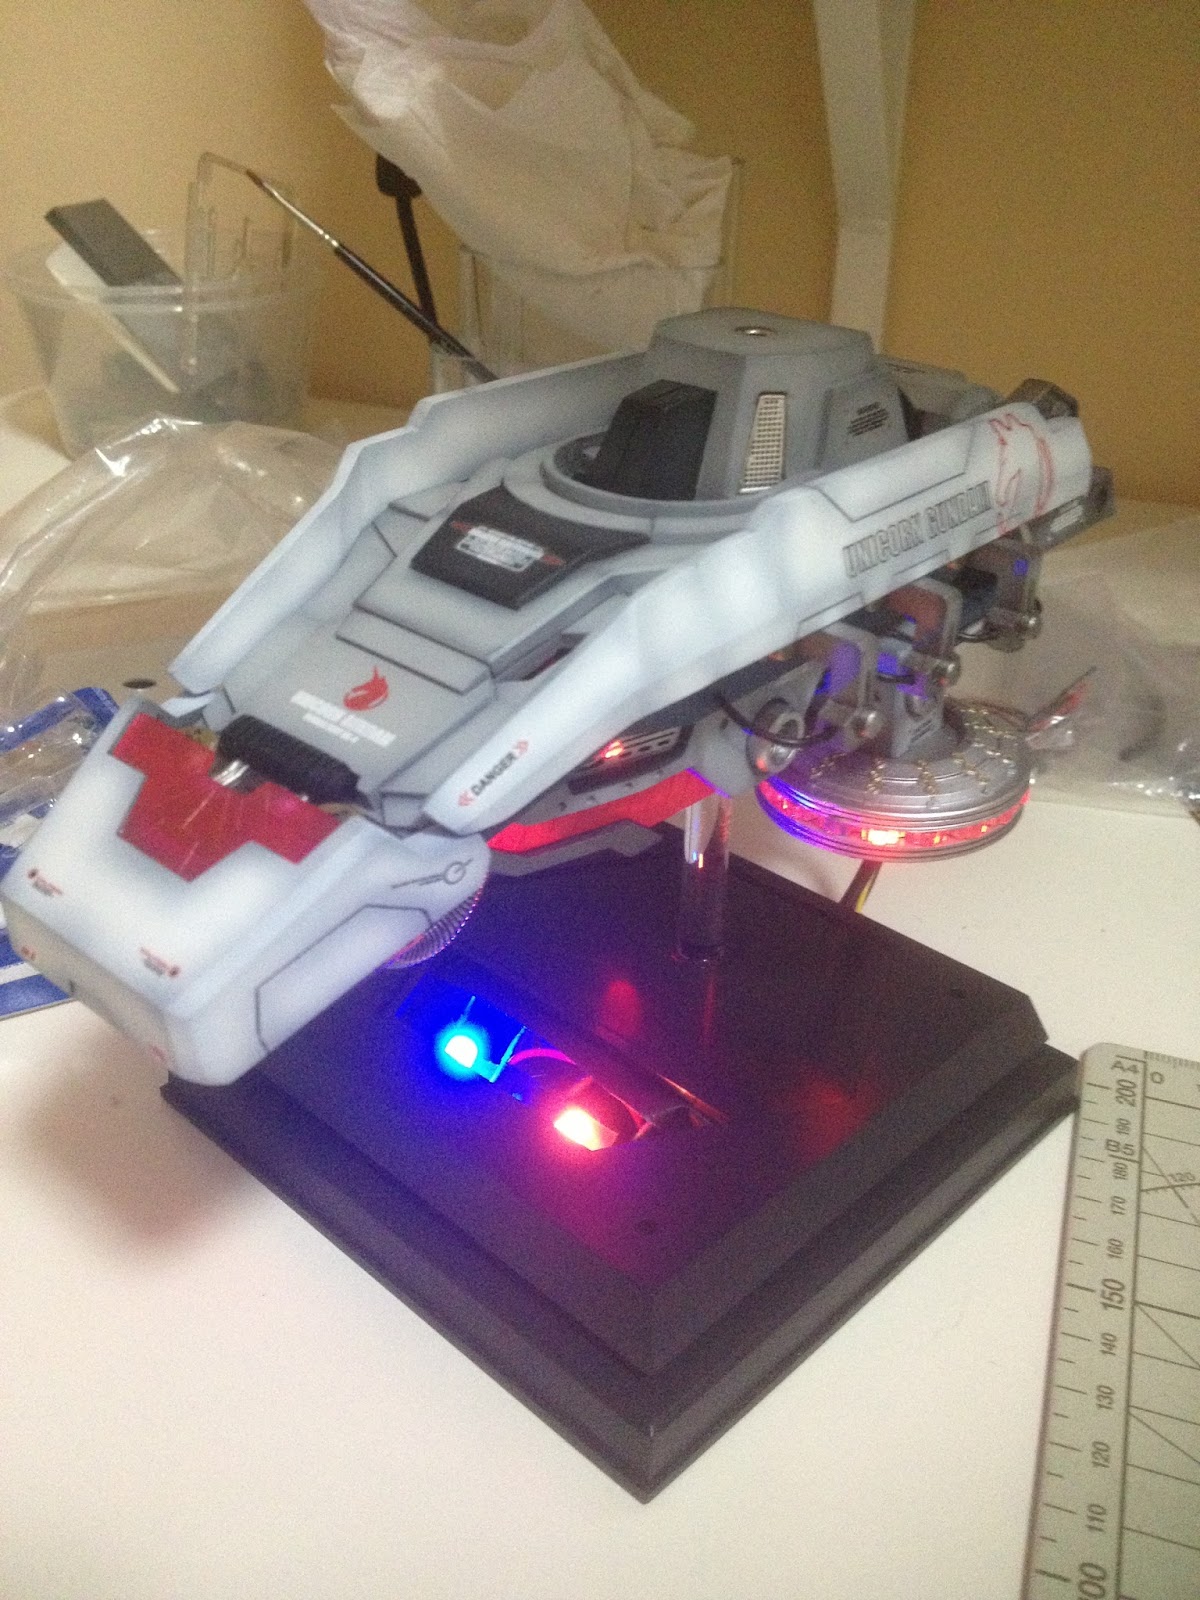
Day 4: Testing

Everything light up on first attempt!! 
(*gave myself a pat on the shoulder*)


Then I went on to test with adaptor. Success on first attempt!!!


Okay.
4 nights of soldering is enough for me.
Taking a break on Day 5 before I proceed with the final assembly. 

Thursday, 11 July 2013

Project #9: GSM 1/35 RX-0 Gundam Unicorn Part 1

Objective

To have a distinctive model for my Gundam Unicorn collection.

Duration: est 2-3 months (very little time to work on this model due to tight schedule)

The Box


Note: Ordered this from E2046. And I must say, the packaging is really good. They make effort to ensure the items will not be broken due to posting and handling. Even the V-Fins are taped to a hard backing. Good stuff.


Its contents...


Note that the waterslide decals are precut! And very little excess is exposed when it is applied on the target surface. Wish Bandai had done this with all their Gundam kits...


[update] The instruction sheet shown above is... Efficient. Read it VERY closely before assembly and wiring. It's so "efficient" that you MUST read it several times even when you thought you understood it... I guess you know what I'm trying to elaborate here. Come on GSM, you can do better instruction sheet than this to compliment such a well molded piece. 

The Build

This being the 3rd resin kit I have done, I have to acknowledge that this is really well molded. Not only there are very few flaws on the parts, the parts that needs to be joint together, fits perfectly well without major putty nor cutting.

[Update: The rear part of the head had a very tight fitting that refuses to fit into the metal frame. A lot of sanding and cutting was made to make sure it fits. Probably its a defect or it was intentional... No idea...]

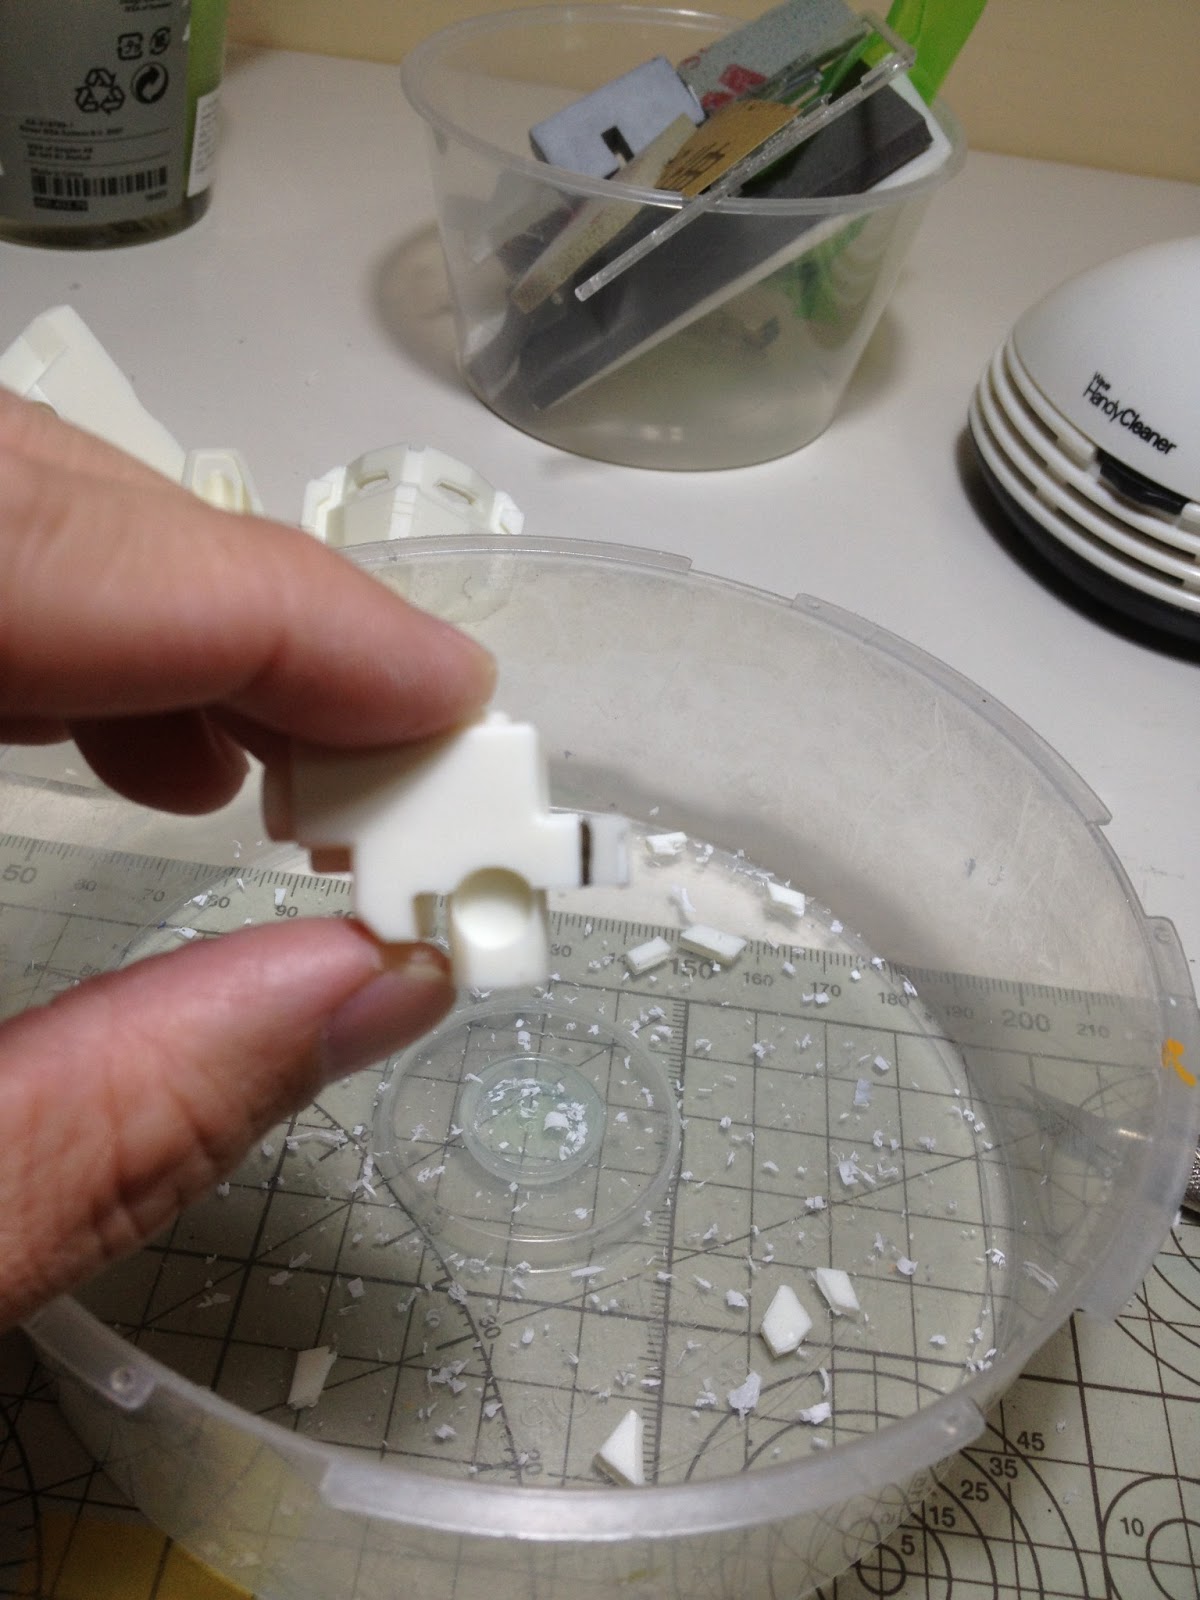
As with all resin cast, removing the excess nurbs are always a risky affair for me. Cut too much I might create a crater. Cut too little I will need to file alot and resin is bad for health... Tried sawing but it creates too much dust too... So I tried using my new scribing tool (which I bought it to scribe my PG Zeta Gundam).

Here's how:
Draw a visible line to scribe

Start scribing a very deep line. No dust but long strands of visible resin which is easy to clean up

Notice how deep the line is? Well, just make sure its about to break off.

This is a risky part. If scribing not deep enough, it will create a crater. Be careful.

A clean snap off!

A simple #400 - #600 wet sanding will clean this off in no time!

Note: All resin kits have to be wet sand due to what I read on how it can affect the lungs.

Once all the parts are sand, the parts will be built together using tapes to ensure all parts fits nicely. Then all these parts will be painted using resin surfacer.

With the surfacer done, more flaws can be seen. There are no major ones for this kit. Just use normal putty will do the trick.

Moving on to painting...

The Painting

For this project, I have decided not to have a black base. Instead,

60% Surfacer (neutral grey) & 40% Black = German grey lookalike. 

For most of the parts, I reused the remaining paints from the PG Zeta.

The results were fantastic. 

Hey! I am really getting the hang of shading! The entire paint job took me only 4-5hrs.

As most of my available time has been booked by my son's activities (playing Black Ops 2), I got only night time to spray the clear coat and it was a risk which I'm prepared to take. But the results looked great! This confirmed that the new Mr. Dry Booth is working well?! No fogging! Clear as it should be! So to me, its working good enough!

[Note]
However, after 4 - 5 hours of airbrushing, I did noticed that my Mr. Linear Compressor had quite a lot of water trapped in the regulator. Not sure if this is usual. Okay, I'm off topic... Will write a review on these new gadgets soon.

The Wiring

To me, this is the toughest part in the entire kit. I have been very lousy at soldering since my school days... Either having cold joints or melting the wire's jacket or creating loads of messy ugly solder joint... 

Hopefully I can pull this off...