Objective:
This has been a very long build process...
Close to 1 year in the making and 1 month of painting.
Due to my tight working schedule, build this monstrous model kit has been very challenging.
Nevertheless, managed to push on an complete it.
The Box:

The Build
All I can say is laborious! Especially the legs!
Google around and you know what I meant.
There's close to 1000 pieces to build... just remember to take it slow....
The joints are solid.
Painting
Seen some modellers painted a different scheme for this monster kit and some painted all the details on the model. An overkill for my preference. To me, this is suppose to be a fighting machine not a colourful machine for parade or a colourful target on a battle field...
Hence I prefer to stick as closed to the recommended colour on the box.
Colour used:
Black Surfacer = Just spray this on every parts!
Gun Metal = Most of the internals
Bright Silver = Pistons and exhaust vents
Bright Gold = Pistons and rivets
Midnight Blue = Base colour for the body armours
90% Midnight Blue + 10% White + dash of Orange Yellow = Highlights
Neutral Grey 3 = Base colour for the lighter body armours
Neutral Grey 2 = Highlights
It will be very tough if I did not have my 0.5mm airbrush!
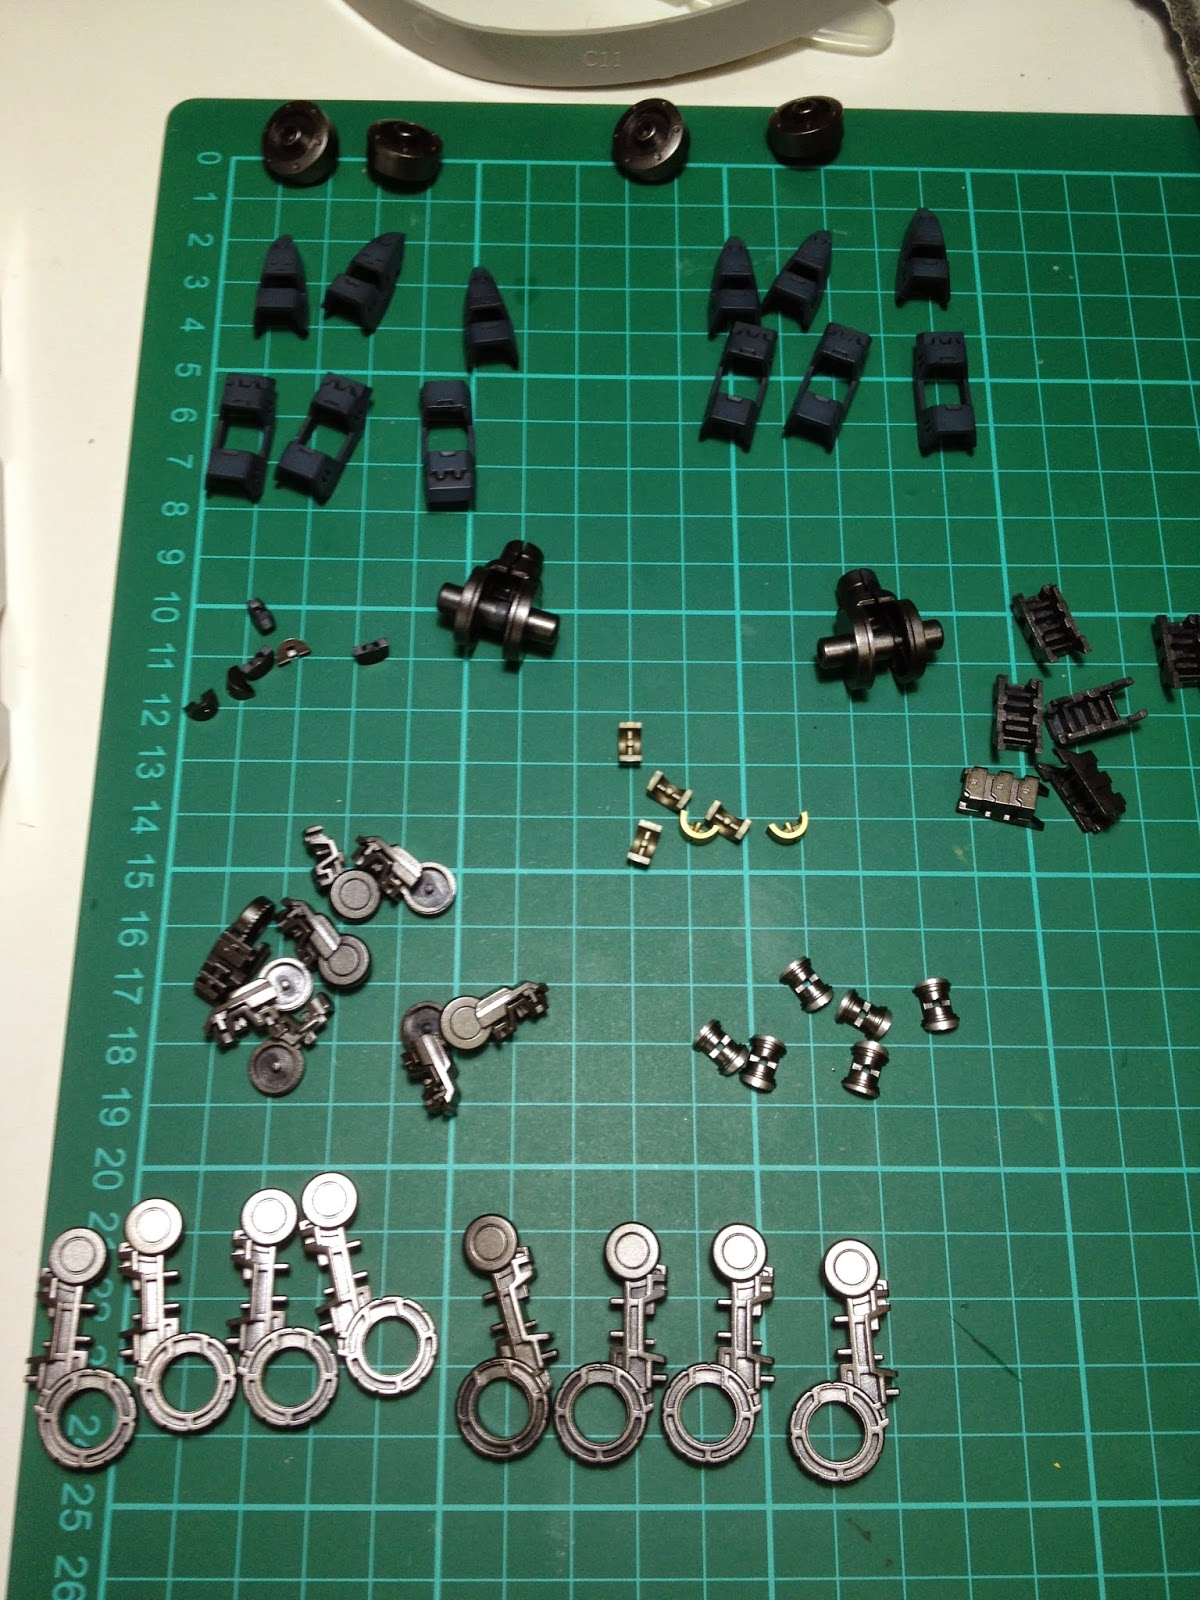
The number of parts to paint are no joke.
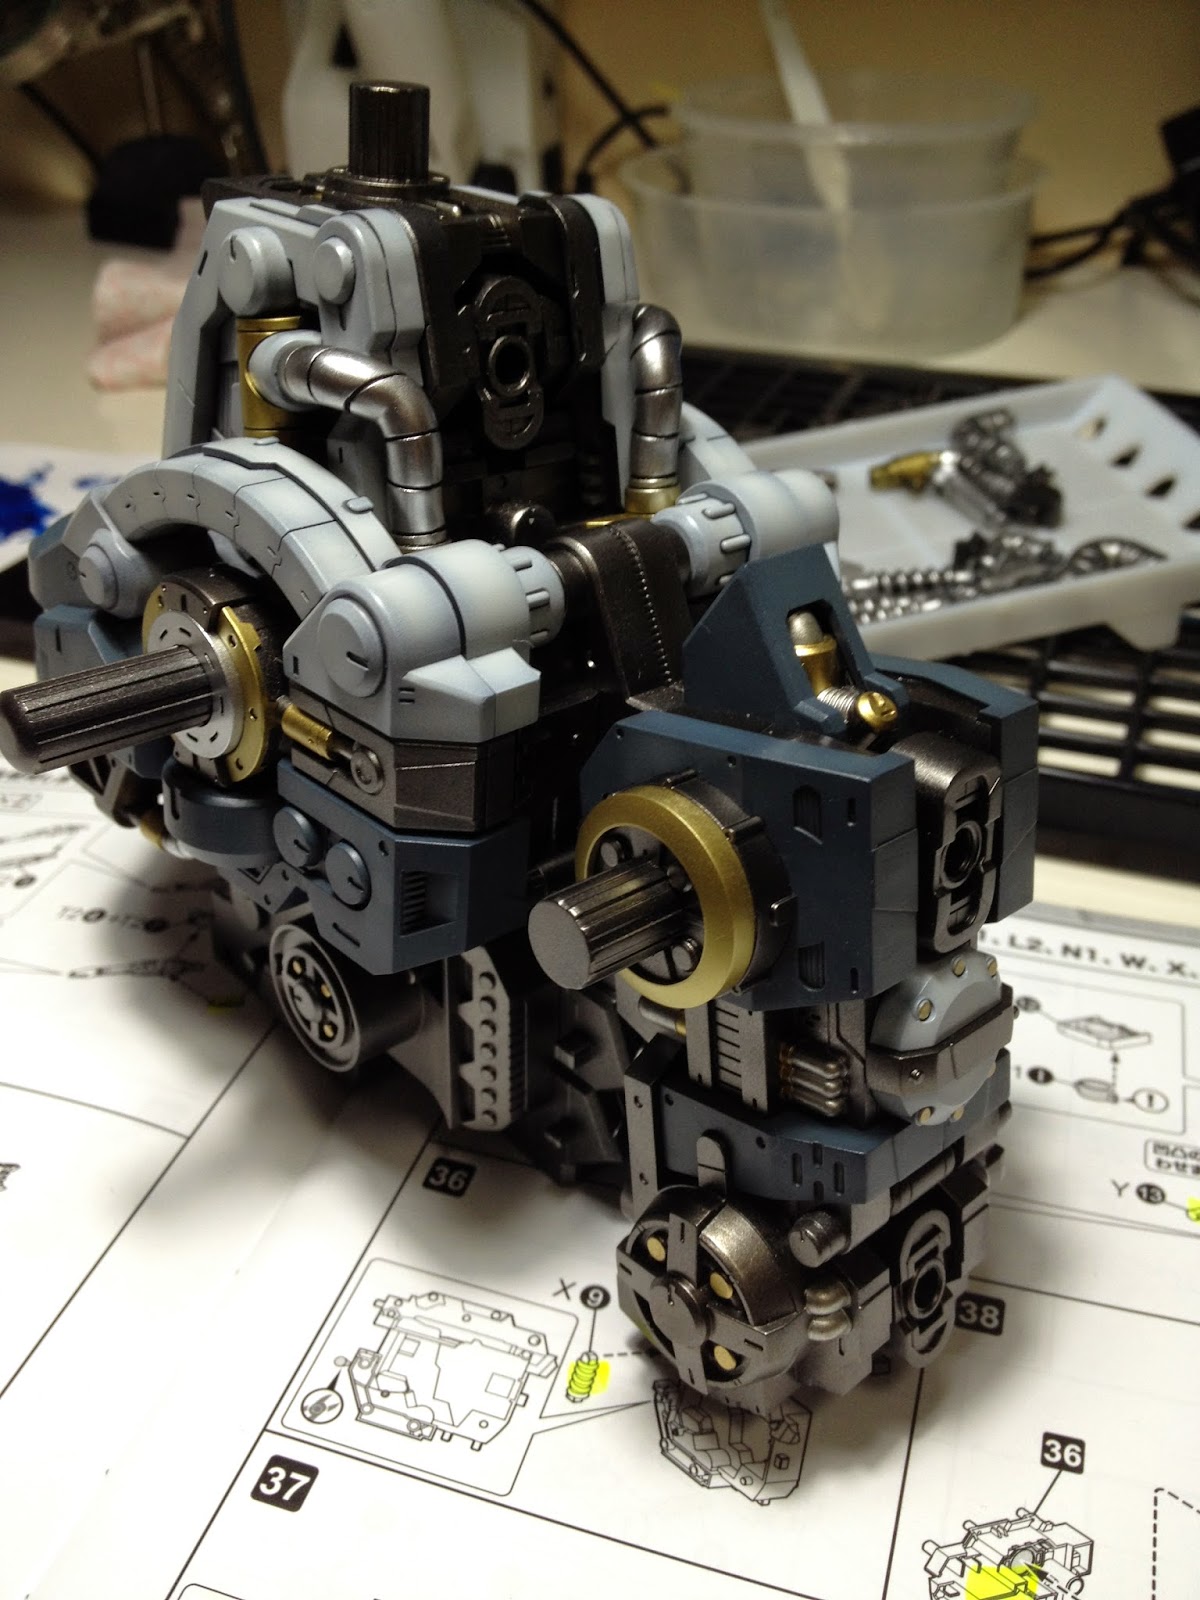
Just look the the parts to paint for the lower torso:

More pics on the painted parts:


Yes! The DryBooth is an excellent gadget! Will have a review on it...
Assembling:
Ok. All done. Panelled lined and hand painted all required parts. Time for the most exciting step for this build.
Here are the pics:


The claw:


The tail (this is the most boring part in the assembling. Same steps but just take note of which part goes to which section):


Noticed that I did not show the leg? I was TOO exhausted with the legs... but it turned out... VERY beautiful. Not my painting.. its the design that rocks!
Completed:

Lesson learnt:
1) Make sure the smaller pieces are properly placed in a container when it is in the DryBooth. Its hot enough to melt parts. Manage to recover a deformed part by heating it and reforming it back.
2) All small pieces should be attached to its bigger counterparts to prevent it from missing! Luckily manage to find it back after 1 day of searching!
Conclusion:
Ok... This is suppose to be a blog on Gunpla... Why Zoids here?
Well... This model is just too beautiful to miss. So, I build it and I'm very happy with it!
Bravo to Kotobukiya's designers and engineers on this model. And not forgetting their excellent after sale support!!!
Note:Will post the completed model once I get a proper digital camera. All above pics are taken from my iPhone. Hopefully it does justice.


Any more pics of the completed model?
ReplyDelete