Objectives:
For the first part of the building chapters, I will be focusing on parts that requires gluing, sanding the seams or any minor modification.
Duration: Hopefully by 1 week.
The Docking Bay:
 |  |
 |
Very simple and easy to build here. The toughest part is having to sand the seams due to some difficult areas.
To overcome the problem this is what I did:
Step 1) Using a 200/300 grade sand paper and fold it in halves and sand those seams which are very narrow.
Step 2) Then used a 400/600 grade sand paper to go over those in step 1. This should smooth out the surfaces.
Step 3) Slightly wider areas I cut out a square 3mm pla-plate and stick the sandpaper on it. Making it a simple tool to sand it.
After Step 3, I realised how useful Tamiya pla-plates are. So, I decided to make a few more, each comes with different shape and sizes. Try it. You will not regret it.
Note: I did not invent these steps. I learnt this technique from the internet. Especially from the master hobbyist shown in Hobby Japan magazines.
The Arms:
 |  |
 |  |
This is a very interesting part to build. There are so much details on it and it will be wasted to cover it with the outer "armor". The articulation was fantastic. The mechanics molded on it was great. So I decided to build it like all exposed parts. Which is glue, sand, putty and sand.
In the end, I spent too much time and I was left with very little time for the other parts. My first slippage on the schedule...
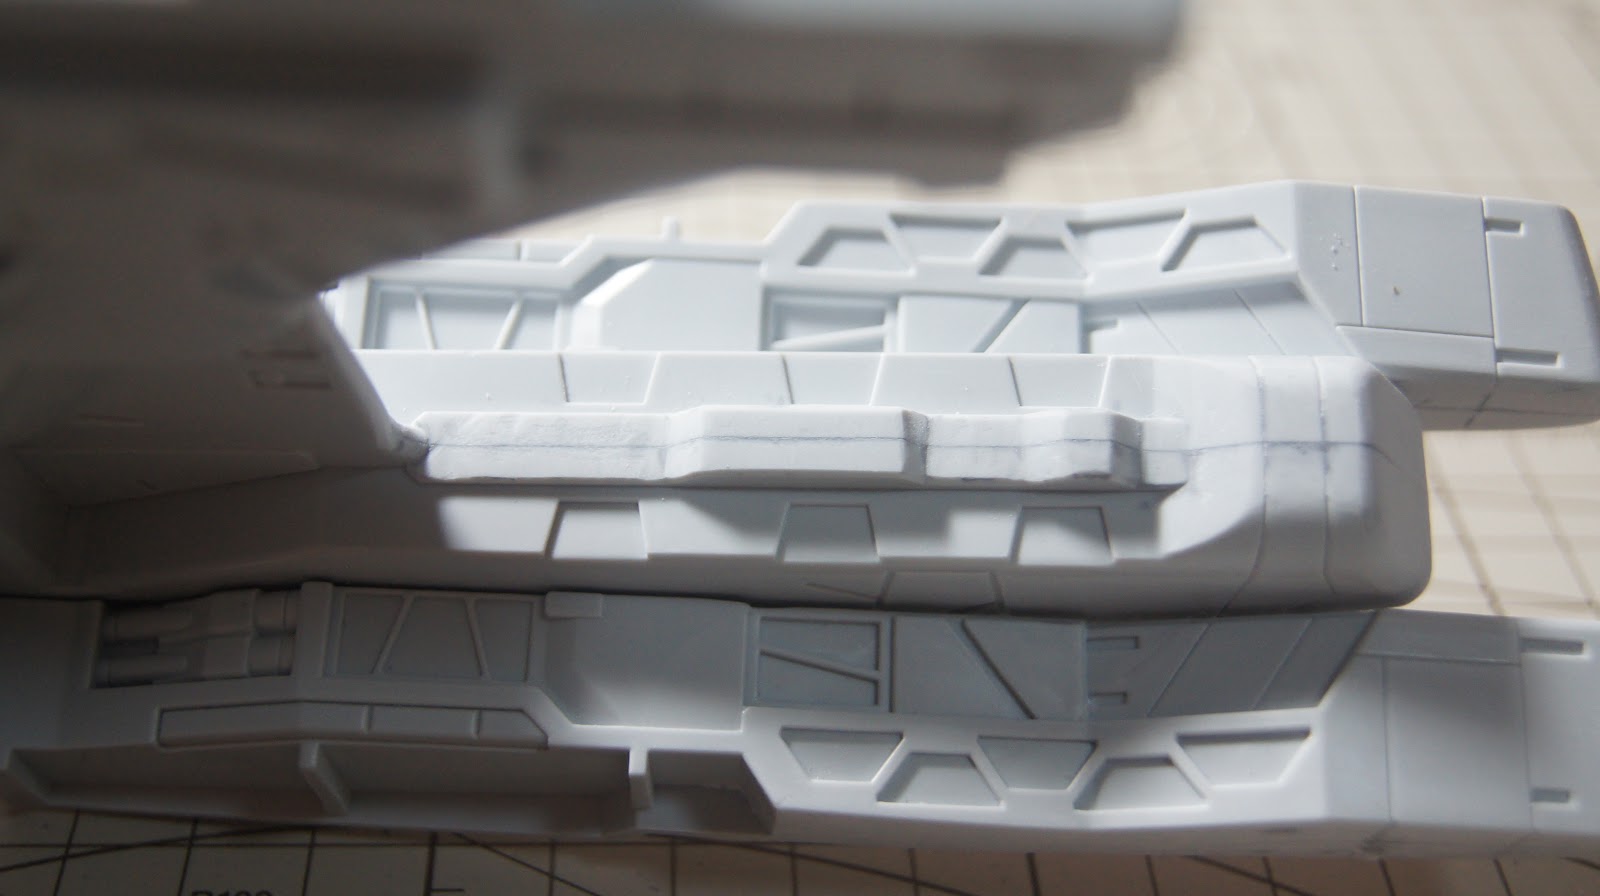
The Tail #1:
 |  |
 |  |
In my opinion, this part is the worst when it comes to fitment. When joined, the 2 pieces do not flush along the seams. Even the surfaces are uneven. So I planned the following steps:
a) Even out the surfaces.
b) Apply putty
c) Sand it down
Well... I did carry out my plan except I got over zealous with the sanding part. I decided to use my Dremel instead... In the end, I created quite a lot of uneven surfaces due to my poor handling on the Dremel. It looks like I have to reapply my plan again. But time is not on my side. I need to complete the rest of the parts first. Only then I will come back to this part. Moving on...
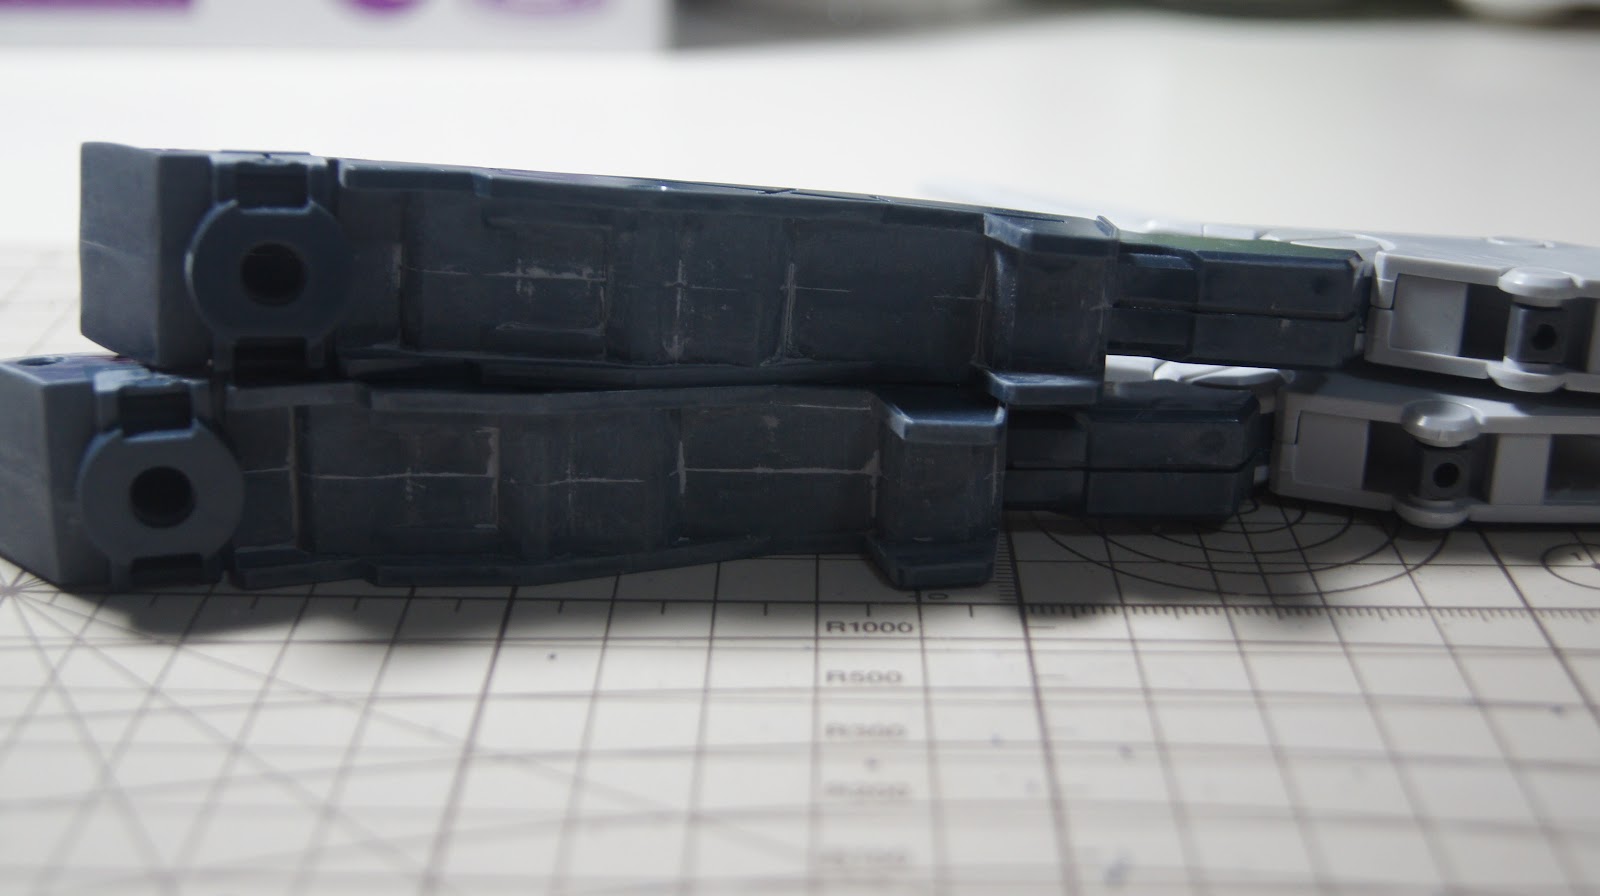
The Tail #2
 |  |
 |
This is another straightforward part. And its fitment at the ends are not fantastic. Just take note of the seams at the ends. It can be a chore to get it sand down. I actually applied putty twice to get it covered...
Next Post:
Project #2: Part 1B - Building the Orchis


0 comments:
Post a Comment